 StainList
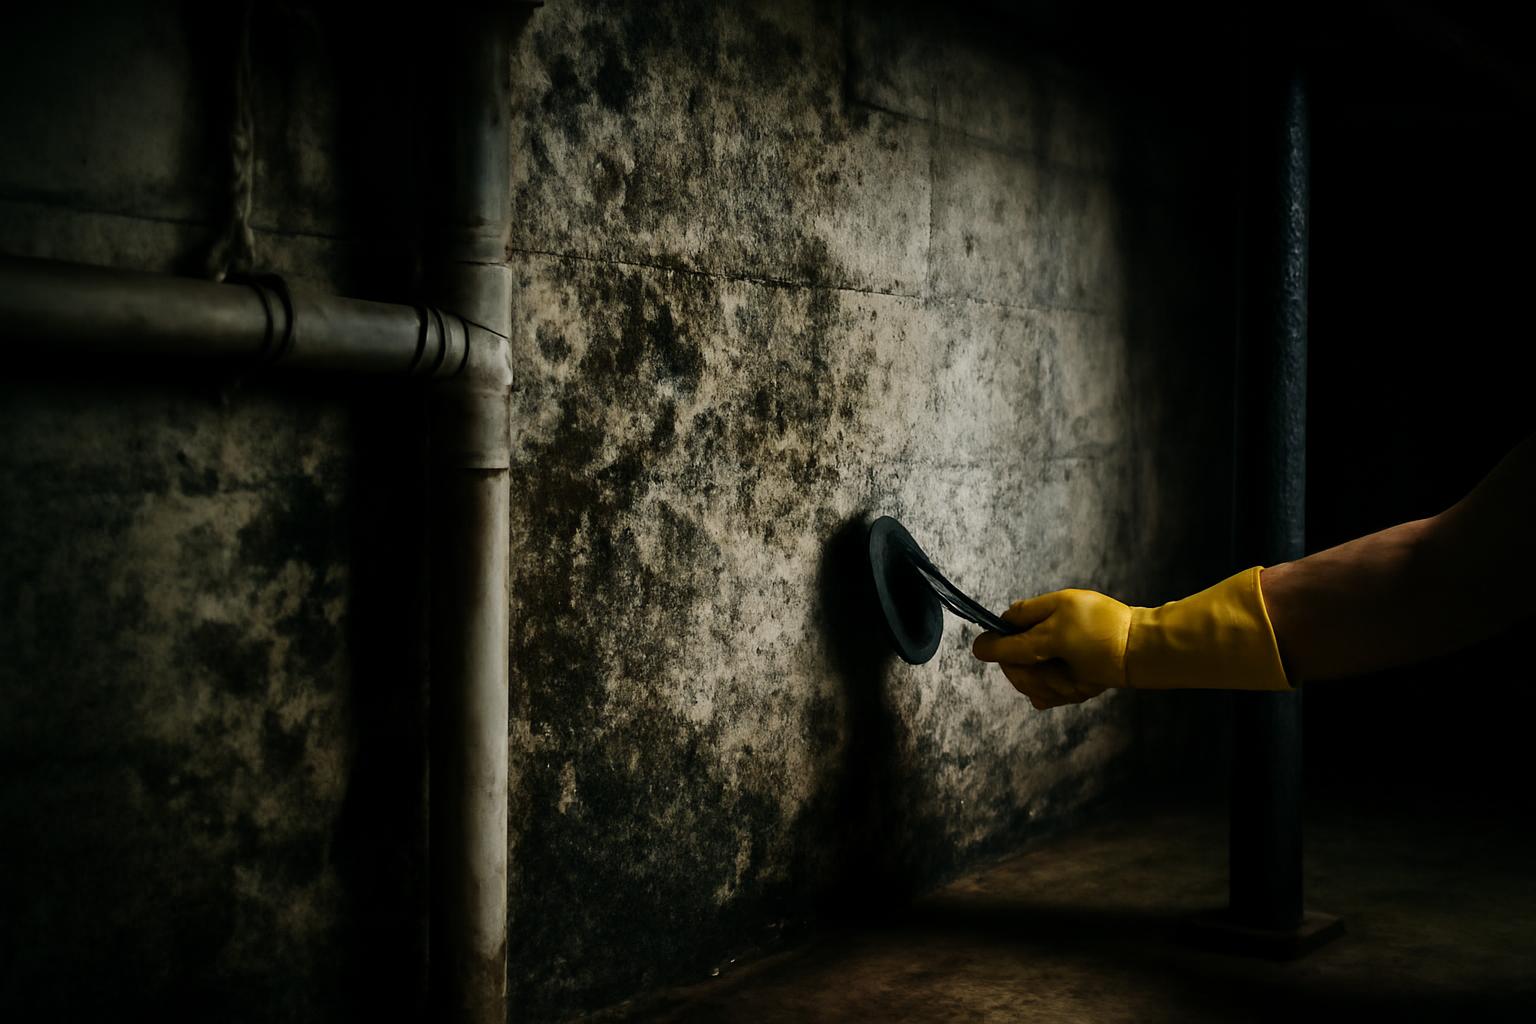
If you’re trying to learn how to get rid of mold in basement spaces safely, the most important point is also the one people most often skip: cleaning is not the first step.
According to the EPA’s homeowner guidance on mold and moisture, the key to mold control is moisture control. In practice, that means the right order looks like this:
- Find and fix the moisture source
- Protect yourself
- Throw out moldy porous materials you can’t reliably save
- Scrub small affected areas on hard surfaces
- Dry everything completely
- Keep humidity low enough that mold does not return
For most homeowners, DIY cleanup is best limited to small visible areas, about 10 square feet or less, especially on hard, accessible surfaces. EPA and state health guidance are consistent on the bigger warning signs: if the area is larger, keeps returning, involves HVAC, follows floodwater or sewage, or anyone in the home has health vulnerabilities, professional remediation is the safer choice.
Signs of Basement Mold and Why It Thrives There
Basements are common mold trouble spots because they often combine the exact conditions mold needs: persistent moisture, poor air movement, cooler surfaces, and materials it can grow on.
Common moisture sources include:
- Plumbing leaks
- Foundation seepage or water intrusion after rain
- Poor exterior drainage
- Condensation on cold pipes, walls, or floors
- Humidity that stays above 60%
- Past leaks or flooding that were not dried fast enough
The EPA notes that mold growth depends on moisture. That is why a basement can have a mold problem even when it does not look obviously wet. Below-grade walls and floors often stay cooler than the surrounding air, and that temperature difference can create condensation. Storage habits make things worse: cardboard boxes, papers, carpet, wood framing, drywall paper, dust, and insulation all give mold something to feed on once they stay damp.
Typical signs of basement mold include:
- A musty or earthy smell
- Black, green, white, or brownish spotting
- Fuzzy, powdery, blotchy, or slimy growth
- Discoloration on walls, joists, stored items, or floor edges
- Peeling paint or bubbling finishes
- Dampness that repeatedly shows up in the same place
You do not need to identify the species before acting. If you can see visible growth and the area is damp, that is enough to treat it as a real problem. The EPA also notes that testing is often unnecessary when mold is already visible.
Health effects vary from person to person. Some people notice little or nothing. Others react quickly, especially if they have allergies, asthma, or other sensitivities. The New York State Department of Health and other public-health sources list symptoms such as:
- Coughing
- Wheezing
- Nasal congestion
- Throat irritation
- Eye irritation
- Skin irritation
That is why basement mold cleanup is not just a cosmetic chore. Wiping off a stain without fixing the dampness underneath usually turns the job into a loop: the smell fades, the spot lightens, and then it returns.
Safety First: PPE and Precautions Before Cleaning
Before you touch the mold, reduce your exposure and keep spores from spreading through the house.
For small DIY cleanup, wear at minimum:
- An N-95 respirator
- Rubber or waterproof gloves
- Goggles without ventilation holes
That minimum PPE is consistent with EPA guidance for homeowners handling small mold cleanup jobs. Regular glasses are not enough, and a loose basic dust mask is not the same thing as an N-95.
Also take these precautions:
Ventilate the area
If outdoor conditions allow, open basement windows and move air to the outside. Ventilation helps reduce fumes if you use a stronger cleaner and helps the basement dry faster afterward.
Isolate the work area
For a small patch, simple containment is often enough:
- Keep children and pets out
- Close doors between the basement and the rest of the house if possible
- Use plastic sheeting around a localized work area if debris will be removed
- Bag contaminated debris before carrying it through the house
If you suspect mold is inside ductwork, around an air handler, or near returns and supply vents, stop treating it like a basic DIY project. EPA guidance is especially cautious about HVAC-related mold because air circulation can spread contamination.
Limit exposure time
Do not turn this into an all-day cleaning marathon. Work in shorter sessions, leave the area if symptoms start, and keep the job focused.
Think carefully about whether DIY is appropriate
Even when the visible area is small, DIY may not be the right choice if you are:
- Asthmatic
- Highly allergic to mold
- Immunocompromised
- Pregnant
- Cleaning in a home with very young children or older adults
- Already having symptoms in the space
Public-health guidance repeatedly flags sensitive occupants as a reason to be more cautious or to hire help.
Handle clothing and waste carefully
After cleanup:
- Seal waste in bags
- Wash work clothes separately
- Wash your hands and shower if needed after the job
- Clean reusable tools according to product directions
Never mix cleaners
This rule matters. Do not mix bleach with ammonia, and do not combine different cleaners in hopes of making them stronger. Dangerous fumes can result. If you change products, remove the first one fully and follow the label directions for the second.
One more practical point: avoid aggressive dry disturbance. Dry brushing, scraping, or sanding can kick spores into the air. For a small homeowner cleanup, it is usually safer to keep the work controlled, keep surfaces only as wet as needed for cleaning, and avoid dust-making steps.
Step 1: Fix Moisture Sources to Stop Mold Growth
This is the real answer to how to get rid of mold in basement areas for good. Moisture control comes first.
The EPA is very direct here: fix plumbing leaks and other water problems as soon as possible, and dry all items completely. Cleaning before moisture control may make the basement look better for a few days, but it does not solve the cause.
Start by figuring out what kind of moisture you have.
Check for direct water entry
Look for:
- Dripping or sweating plumbing lines
- Water around the water heater, sink, laundry area, or drain
- Damp spots under basement windows
- Water marks along wall-floor joints
- Puddles after storms
- Repeated seepage in the same area
- White mineral residue or recurring dampness on masonry
If you find a plumbing leak or obvious water intrusion, repair it as quickly as you can.
Check for condensation
Condensation is common in basements and often overlooked. Signs include:
- Moisture on cold-water pipes
- Damp basement walls during humid weather
- Mold on stored items placed directly against exterior walls
- Growth in corners with stagnant air
If the basement air is humid and the surfaces are cool, condensation can supply enough moisture for mold to keep growing. Insulating cold pipes and improving air movement can help.
Measure humidity
A basement can feel dry and still be humid enough for mold. Use a hygrometer instead of guessing.
A practical target is:
- Ideal: 30% to 50% relative humidity
- Avoid letting it stay above 60%
Those thresholds are consistent with EPA homeowner guidance. If humidity is too high, run a dehumidifier consistently. In many basements, a unit with continuous drainage works better than one you have to empty by hand.
Dry recent water damage fast
If the mold followed a leak, seepage event, or minor flooding, timing matters. EPA guidance says to dry water-damaged areas and items within 24 to 48 hours to help prevent mold growth.
Use whatever combination fits the situation:
- Fans
- Dehumidifier
- Towels
- Wet vac for standing water
- Open windows when weather supports drying
Improve exterior drainage
A lot of basement moisture starts outside. Check the basics:
- Clean gutters so they do not overflow near the house
- Extend downspouts away from the foundation
- Make sure the ground slopes away from the home rather than holding water beside the basement wall
- Watch for places where roof runoff repeatedly dumps near the house
For many homes, exterior water management matters more than any cleaning product used indoors.
Improve airflow and reduce cold-surface moisture
Helpful fixes can include:
- Better air circulation in the basement
- Exhaust ventilation where appropriate
- Leaving some space between stored items and exterior walls
- Insulating cold water pipes
- Addressing damp laundry or utility areas
If mold keeps reappearing in corners, behind furniture, or along sill areas, that often points to an ongoing moisture pattern rather than a one-time dirty surface.
Do not begin cleanup until the moisture problem is fixed or clearly being controlled.
Step 2: Discard Porous Materials and Isolate Area
One of the least satisfying parts of basement mold cleanup is that some materials are better replaced than cleaned.
The EPA says absorbent or porous materials such as ceiling tiles and carpet may have to be thrown away if they become moldy, because mold can grow into the empty spaces and crevices of those materials and may be difficult or impossible to remove completely.
Usually discard these if moldy
- Carpet and carpet padding
- Drywall
- Insulation
- Ceiling tiles
- Cardboard boxes
- Papers and books with heavy contamination
- Upholstered items with deep mold growth
- Fabric storage bins and other soft storage materials
This is especially true if the item was soaked, stayed damp, or shows growth through more than just a tiny surface area.
Usually more reasonable to clean if the affected area is small and accessible
- Tile
- Metal
- Glass
- Some sealed concrete surfaces
- Some painted hard surfaces
- Small areas of sound, finished wood with light surface growth
There are gray areas. Drywall may look like a hard wall surface, but it is still porous. Concrete is hard, but not as non-porous as tile or glass. That distinction matters when deciding what a homeowner can clean reliably.
Bag contaminated debris before moving it
To reduce spread:
- Remove contaminated porous material carefully
- Put it directly into heavy bags
- Seal the bags before carrying them through the house
This becomes especially important in finished basements, where a visible stain on drywall can mean a larger damp area inside the wall assembly.
Isolate the work area
If you are removing debris, basic containment helps:
- Plastic sheeting around a small work zone
- Closed doors if possible
- Covered waste during removal
- No unnecessary traffic through the area
Use HEPA vacuuming carefully
A HEPA vacuum can help with loose debris and dust during some cleanup situations. A standard household vacuum is not equivalent. Still, vacuuming does not solve mold inside porous material, and it should not replace removal of unsalvageable items.
Do not paint or caulk over mold
EPA is clear on this point: do not paint or caulk moldy surfaces. Clean up the mold and dry the area first. Paint applied over a damp, moldy surface is likely to peel, and sealing over contamination does not correct the underlying problem.
Replace rotten or damaged materials
If wood, trim, or framing is rotten, crumbling, or structurally unsound, cleaning alone is not enough. That is a repair issue, not just a cleaning issue.
If the affected item is expensive, sentimental, or difficult to replace, pause and consult a specialist before experimenting.
Step 3: Clean Hard Non-Porous Surfaces Like Concrete and Tile
Once the moisture source is controlled and unsalvageable porous items are removed, you can clean the remaining small affected area.
The basic EPA method for small residential jobs is simple: scrub hard surfaces with detergent and water, then dry completely.
That is the best-supported baseline for a homeowner.
First, a clarification about surfaces
This section heading uses “hard non-porous surfaces” as a shorthand, but not every basement surface in this category behaves the same way.
- Truly non-porous or close to it: tile, metal, glass
- Hard but more porous or textured: concrete, cinder block, some masonry
- Problematic for DIY if moldy: drywall, insulation, carpet, other absorbent materials
So yes, you may be cleaning a concrete wall or floor in a basement, but concrete is not the same as tile. It is a hard surface, yet it can hold moisture more easily and may not clean as predictably if the basement stays damp.
Best candidates for small DIY scrubbing
- Tile
- Metal shelving
- Glass block
- Painted hard surfaces with limited visible growth
- Sealed concrete with small accessible patches
For unsealed concrete or cinder block, the same detergent-and-water approach may still be used on small visible growth, but expectations should be lower. If the wall stays wet, the problem will likely return.
Basic cleaning method: detergent and water
For most small basement patches, start here:
- Put on PPE
- Ventilate the area
- Dampen a cloth, sponge, or scrub brush with detergent solution
- Scrub the visible growth from the surface
- Wipe away residue
- Dry the area completely
For rough masonry, a brush may work better than a sponge. The goal is controlled scrubbing, not soaking the material.
When bleach may be reasonable
Bleach causes a lot of confusion because online advice swings between “use it for everything” and “never use it.” The evidence is more limited and surface-dependent than either extreme suggests.
A cautious homeowner takeaway is:
- Bleach may be used on small areas of hard, non-porous surfaces
- It is not a reliable general solution for porous materials
- It does not replace moisture control, removal of contaminated porous items, or complete drying
If you choose to use bleach, public-health style guidance commonly limits the solution to no more than 1 cup of bleach per 1 gallon of water. If you go that route:
- Wear full PPE
- Ventilate well
- Never mix bleach with any other cleaner
- Follow the product label
Bleach makes the most sense on surfaces such as tile, metal, or glass. It makes much less sense on:
- Drywall
- Insulation
- Carpet
- Upholstery
- Wood
- Rough concrete or cinder block
If your basement surface is absorbent, textured, or repeatedly damp, detergent and water plus drying is the more defensible starting point.
Vinegar as a household option
Some homeowners use white vinegar on small surface mold patches. It is reasonable to mention as a household option, but not as a guaranteed fix.
A common DIY approach is to apply white vinegar, let it sit for about an hour, then scrub, wipe, and dry the area thoroughly. Results vary by surface and conditions, and vinegar will not correct hidden moisture or mold inside porous materials.
Avoid vinegar on stone or marble.
Hydrogen peroxide as another household option
3% hydrogen peroxide is another commonly used household cleaner for small, accessible mold patches.
A typical DIY use is to apply it, let it dwell for roughly 10 to 30 minutes, then scrub, wipe, and dry the surface. Like vinegar, it may help with minor visible growth on some surfaces, but it is not a substitute for removing contaminated porous material or fixing ongoing dampness.
What about wood?
Wood needs more caution than tile or metal. If you have a small area of light surface growth on sound, finished wood, detergent and water may be appropriate, followed by thorough drying.
But homeowners should avoid turning wood cleanup into an abrasive project. Dry brushing and sanding can aerosolize spores. If mold on wood is extensive, repeatedly returns, or appears to be below the surface, that is a good point to stop and get professional advice instead of escalating the DIY effort.
What not to do
- Do not mix bleach with ammonia or other cleaners
- Do not soak surfaces so heavily that you add more moisture
- Do not keep re-cleaning moldy drywall or carpet instead of replacing it
- Do not assume a lighter stain means the problem is solved
- Do not paint or caulk over the area before it is clean and dry
For most homeowners, the winning formula is not “use the harshest chemical.” It is small, controlled cleaning on the right surfaces, followed by aggressive drying and lasting moisture control.
Step 4: Dry Thoroughly and Verify Cleanup
A basement is not really clean when the spot merely looks better. The cleanup is complete only when the area is dry and the mold is not coming back.
Dry the area completely
After cleaning:
- Run fans
- Run a dehumidifier
- Keep air moving until surfaces are dry
- Continue humidity control afterward if needed
This matters whether you used detergent, bleach solution, vinegar, or hydrogen peroxide. Any liquid you apply has to be followed by drying.
What successful cleanup should look like
EPA guidance for judging whether mold cleanup is complete is practical:
- No visible mold
- No musty odor
- Materials are dry
- The moisture source has been corrected or controlled
Cosmetic staining may remain on some materials. That alone does not prove active mold is still growing. But if the area still smells musty, feels damp, or grows back quickly, the job is not finished.
Recheck the area over the next few weeks
Mold commonly returns for three reasons:
- The water source was never fully fixed
- The material was too porous to clean reliably
- There is hidden growth behind a finished surface
Keep checking with your eyes, your nose, and your hygrometer. If the same area comes back, stop repeated wipe-downs and investigate the moisture path more seriously.
When DIY Isn’t Enough: Call a Professional
DIY basement mold cleanup has limits. Ignoring those limits often wastes time, spreads contamination, or leaves hidden damage in place.
Professional help is the safer choice when:
- The affected area is larger than about 10 square feet
- Mold may be in HVAC equipment, ducts, or near air returns
- The basement had flooding, sewage backup, or contaminated water
- The mold keeps returning after cleanup
- You suspect hidden mold behind walls, under flooring, or above a finished ceiling
- Someone in the home has asthma, severe allergies, or immune-related health concerns
- Structural materials are rotting or demolition may be needed
- The affected item is valuable or hard to replace
These triggers line up closely with EPA and state health guidance.
What about black mold?
This gets oversimplified online.
Color alone is not the best decision rule. A darker patch is not automatically a crisis, and not every black-looking spot requires the same response. More useful questions are:
- How large is the affected area?
- Is the material porous?
- Was there a long-term leak or water damage event?
- Is the growth hidden or widespread?
- Are vulnerable people exposed?
- Is there HVAC involvement?
That said, if you see heavy dark growth in a chronically wet basement, especially after prolonged water damage, it is reasonable to stop DIY cleanup and bring in a professional instead of assuming it is a small surface issue.
Why pros handle bigger jobs differently
For more complex problems, professionals may use:
- Better containment
- HEPA vacuums
- Air scrubbers
- Moisture meters and more detailed water-source investigation
- Controlled removal of contaminated materials
Visible mold is sometimes only the surface symptom. In finished basements especially, the real problem may be inside wall cavities, under flooring, or around ductwork.
Long-Term Prevention for a Mold-Free Basement
Once you have cleaned the visible mold, the real job is keeping the basement dry enough that it does not come back.
Keep humidity in the right range
Aim for:
- 30% to 50% relative humidity
- Do not let it stay above 60%
Use a dehumidifier during humid periods and a hygrometer year-round so you know whether conditions are actually under control.
Fix leaks promptly
Small leaks count. A slow pipe drip, a damp utility corner, or repeated wall seepage after rain can keep materials wet long enough for mold to return. EPA guidance again is clear: dry water-damaged materials within 24 to 48 hours whenever possible.
Improve water management outside
Keep water from collecting next to the foundation:
- Clean gutters regularly
- Direct downspouts away from the house
- Maintain grading so water drains away instead of settling near basement walls
- Watch for recurring wet zones after storms
Reduce condensation
If condensation is part of the problem:
- Insulate cold pipes
- Improve airflow
- Vent laundry and utility spaces appropriately
- Avoid packing storage tightly against cool exterior walls
Choose better materials when remodeling
If you are repairing or finishing a basement, prevention also comes from material choices. Practical examples include:
- Avoiding carpet directly over concrete unless the assembly is designed for moisture control
- Using mold-resistant materials where appropriate
- Replacing damaged finishes instead of covering them up
Watch for early warning signs
Quick seasonal checks can catch a problem before it spreads:
- Musty odor
- Damp walls after rain
- Pipe condensation
- Peeling paint
- Wet cardboard or stored fabrics
- Reappearing spots in the same location
If you remember only one rule, make it this: a dry basement is the real mold treatment. Cleaning matters, but moisture control is what keeps the cleanup from becoming a cycle.
FAQ
Can I use bleach to kill basement mold?
Yes, with limits.
Bleach may be used for small mold patches on hard, non-porous surfaces, and public-health style guidance commonly limits the mixture to no more than 1 cup per gallon of water. If you use it, ventilate well, wear an N-95 respirator, gloves, and eye protection, and never mix bleach with ammonia or any other cleaner.
The main limitation is surface type. Bleach is a poor choice for porous materials such as drywall, carpet, insulation, and many wood surfaces. It is also less convincing on rough, damp masonry than on tile, glass, or metal.
For many small basement jobs, detergent and water followed by complete drying is the better-supported baseline.
Is vinegar or hydrogen peroxide effective on basement surfaces?
They can be useful for small, accessible surface growth, but they are not a cure for the moisture problem underneath.
Common DIY use looks like this:
- White vinegar: apply, let sit about 1 hour, then scrub and dry
- Hydrogen peroxide: use 3%, let dwell about 10 to 30 minutes, then scrub and dry
Those are reasonable household options for minor mold on some surfaces, but results vary. Neither one replaces removing moldy porous materials or correcting the damp conditions that allowed the mold to grow.
Also, avoid vinegar on stone or marble, and never mix cleaners together.
What humidity level prevents mold in basements?
A good target is 30% to 50% relative humidity, and you should avoid letting the basement stay above 60%.
That is why a dehumidifier and a hygrometer are so useful together. One lowers moisture; the other tells you whether the basement is actually staying in range.
Do I need to test for mold or just clean visible growth?
In many homes, if you can see mold, you do not need testing before taking action.
EPA and state health guidance both emphasize a more practical sequence:
- Fix the moisture problem
- Clean or remove the affected material
- Dry the area thoroughly
- Watch for recurrence
Testing can make more sense when:
- You suspect hidden mold
- HVAC contamination is possible
- A professional wants post-remediation verification
- The problem keeps returning and the source is unclear
DIY mold test kits are often less helpful than homeowners expect.
When should I replace drywall in my basement?
Replace drywall when it is moldy and water-damaged, especially if it stayed wet long enough for growth to develop or if the contamination is more than a tiny surface issue.
Drywall is a poor candidate for repeated cleaning because it is porous. The paper facing and core can hold mold below the surface, which makes reliable cleanup difficult. Replacement is often the safer choice when:
- The drywall was soaked or stayed damp after a leak or flood
- Mold is visible beyond a very small isolated area
- The same section keeps coming back after cleaning
- You suspect mold inside the wall
- The total affected area is larger than about 10 square feet
If you are opening a finished basement wall, or you are not sure how far the damage extends, that is a good point to bring in a professional.
Getting rid of basement mold usually comes down to sequence and restraint: fix the moisture first, limit DIY cleanup to small hard-surface areas, discard moldy porous materials, dry everything thoroughly, and keep the basement dry enough that regrowth does not get a second chance. Results vary by material, moisture history, and how long things stayed wet. If the problem is large, recurring, hidden, or tied to health risks or structural damage, professional help is the safer path.