 StainList
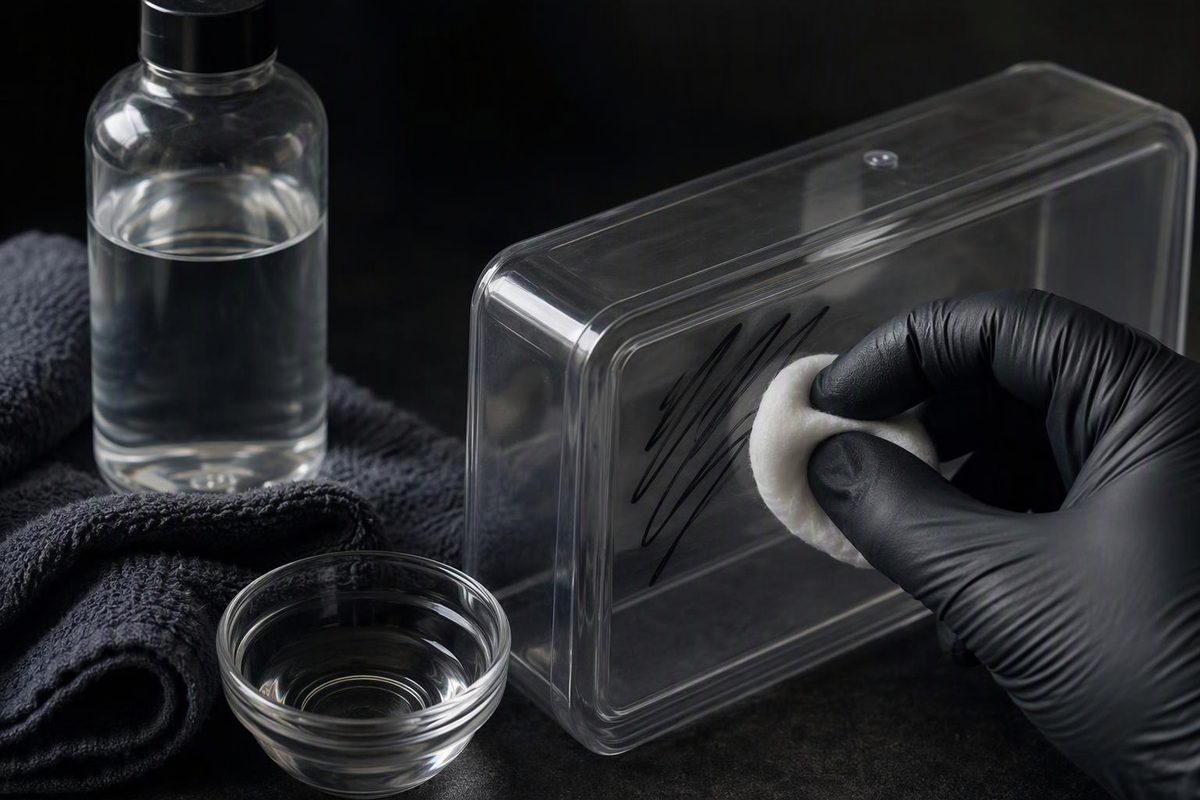
For smooth plastic that tolerates alcohol, use a little rubbing alcohol on a soft white cloth to lift Sharpie ink, then wash away the residue. Start with mild soapy water, and test before using a solvent: removing the ink is not a success if the plastic turns cloudy or its finish comes off.
Marker manufacturer edding recommends isopropanol for permanent-marker marks on smooth, non-porous plastic, with an inconspicuous-area test first. That is not permission to use alcohol on every plastic item.
Check the surface before choosing a cleaner
This sequence is for ordinary permanent-marker ink, not paint markers. Check the marker barrel if you have it.
Look for the item’s material name and cleaning instructions, especially on clear panels, appliance parts and electronic housings.
- Smooth, unpainted plastic: A short, spot-tested alcohol treatment may be appropriate if the care instructions allow it.
- Textured or porous surfaces: Do not expect the same result; edding’s removal advice is limited to smooth, non-porous plastic.
- Painted, printed or coated plastic: Protect the decoration as well as the plastic. Stay with manufacturer-approved cleaning if you cannot confirm solvent compatibility.
- Acrylic, clear glazing and screens: Do not assume rubbing alcohol is safe. ACRYLITE’s guidance permits isopropyl alcohol diluted to 30% for its sheet, but also warns against solvents including acetone and alcohol more generally. That does not establish that household 70% alcohol is safe for your acrylic item. Follow the specific acrylic care instructions.
Polycarbonate also needs product-specific care: LEXAN’s manufacturer warns against alcohol on UV-protected surfaces. If the material or coating is unknown and appearance matters, stop at gentle washing until you can check with the maker.
Remove the mark in small steps
Gather mild dish soap, lukewarm water, soft white cloths and cotton swabs. If alcohol is permitted, use the type and concentration allowed by the item’s care instructions. 70% isopropyl rubbing alcohol is not a universally safe concentration.
1. Wash gently first
Use a soft cloth dampened with lukewarm water and a little mild dish soap. Wipe gently, remove the soap with a clean damp cloth, and dry.
This clears dirt so you can see the remaining mark without immediately resorting to a solvent. Do not scrub with a rough sponge or brush. For electrical items, unplug first and follow the maker’s cleaning instructions; keep liquid out of openings.
2. Test the alcohol away from the mark
Only proceed where alcohol is compatible with the item. Moisten a cotton swab or corner of a white cloth—do not pour alcohol onto the plastic.
Wipe a tiny hidden area briefly, then wipe with a water-dampened cloth and let it dry. Check for dullness, clouding, tackiness, fine cracks or transferred surface color. Any change means stop. A clean-looking test while wet is not enough, and a spot test does not override the maker’s restrictions.
Work with ventilation and away from flames, sparks and heat: 70% rubbing-alcohol labeling warns that it is flammable and its fumes can be irritating.
3. Lift the ink, rather than spreading it
Dampen a fresh cloth corner or swab with the compatible alcohol solution. Dab or wipe a small part of the mark with light pressure, then lift the loosened ink with a clean section. Change cloth sections as they pick up color.
Use brief contact, not a soak. Repeat only while ink continues transferring and the plastic stays unchanged. Do not increase pressure or leave a wet alcohol pad sitting on a stubborn mark.
4. Clean and inspect
Wash the treated area gently with mild soapy water, remove the residue with clean water, and dry. For food-contact items, use only treatments permitted by the maker, then wash and rinse thoroughly.
If a shadow remains, do not escalate blindly
If no more ink transfers, stop. A remaining shadow does not prove that stronger solvent or harder rubbing will help. Consider only an ink remover whose instructions explicitly cover the particular plastic and finish; test it separately.
Skip acetone and nail-polish remover as a general next step. Both the acrylic and LEXAN guidance above warn against acetone. Also avoid abrasive pastes, scouring pads and casual use of melamine “magic” erasers on glossy plastic: Mr. Clean specifically excludes high-gloss and polished surfaces.
If a cloudy patch, tackiness or fine cracking appears, treat it as possible surface damage—not another stain to scrub away. For a valuable collectible or specialty clear part, ask the manufacturer or a conservator before further treatment.