 StainList
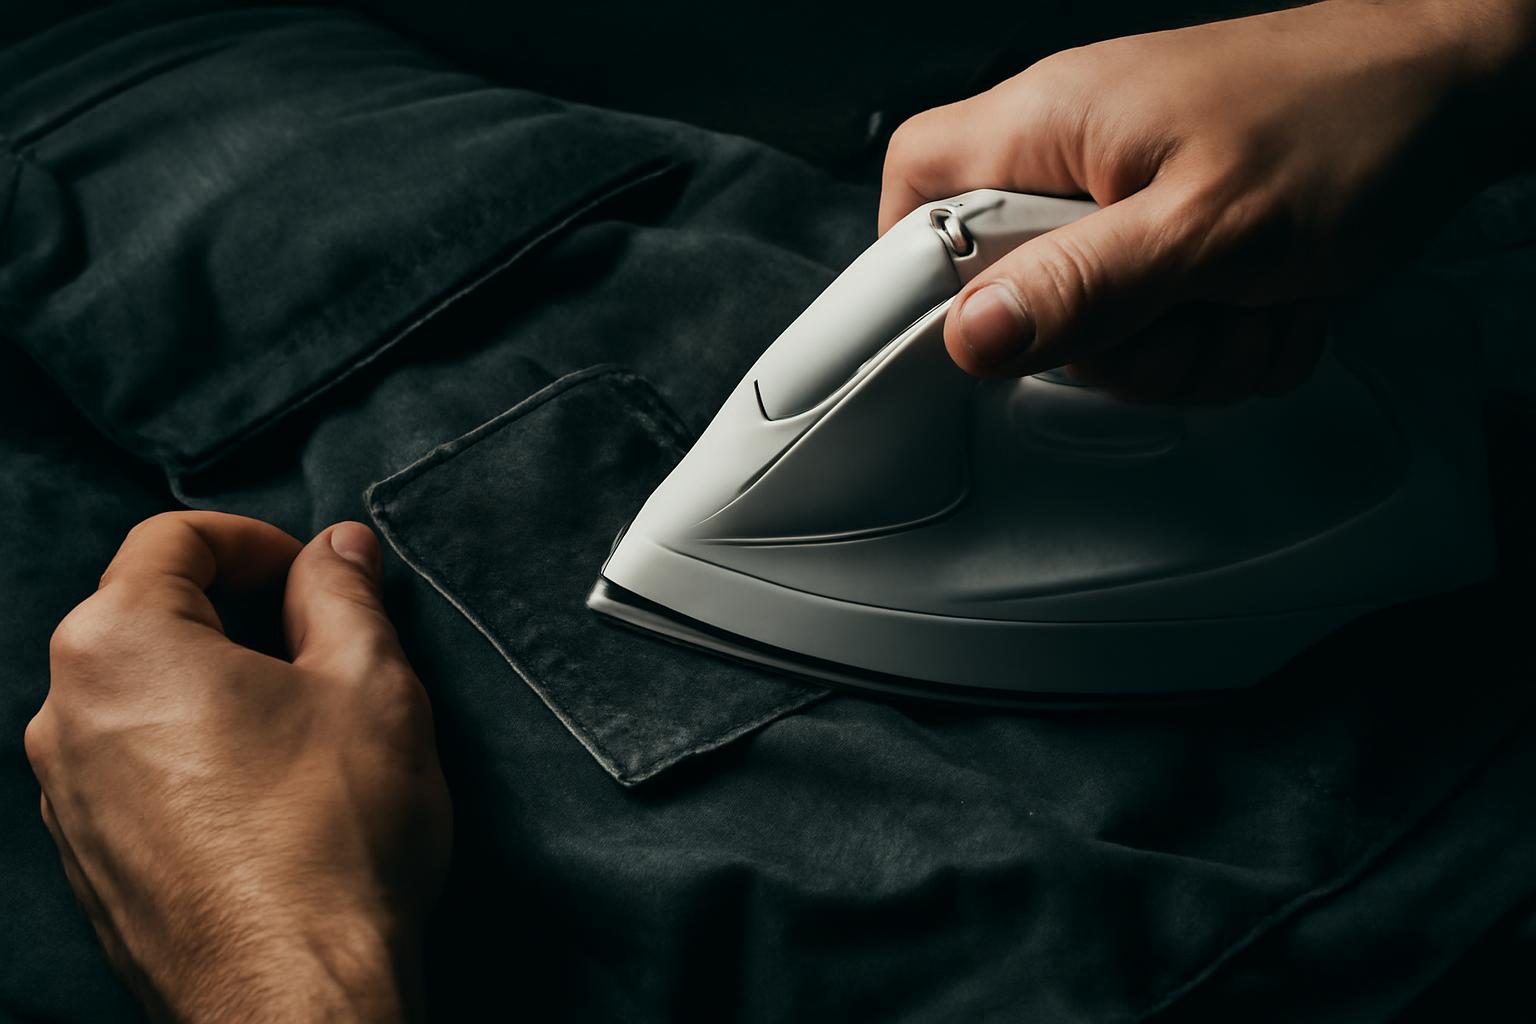
If you need to know how to remove iron on patches, the safest honest answer is this: there is no single guaranteed household method for every patch and fabric combination.
What is broadly consistent across public patch-removal guides is the basic logic:
- Identify the patch type and fabric first
- Test heat and any remover in a hidden spot
- Loosen the adhesive gradually
- Peel only what releases easily
- Treat leftover glue as a separate residue problem
That last part matters. Even when the patch comes off, the adhesive often leaves a tacky outline or stiff film behind. That residue is not literally the same as cooking oil, but it often responds to some of the same lower-risk cleanup steps used for greasy stains: absorbent powder first, then dish soap, then more aggressive spot treatment only if needed.
One more important framing point before the step-by-step sections: most household patch-removal advice in circulation is practical, fabric-dependent tutorial guidance rather than a single standardized textile-care procedure. So the goal here is not to promise a flawless universal fix. It is to help you reduce risk, choose the least aggressive option first, and know when to stop.
What Are Iron-On Patches and Why Are They Hard to Remove?
Iron-on patches usually have a heat-activated adhesive backing. When heated, that adhesive softens and bonds to the fabric below. Once it cools, it holds firmly enough to survive regular wear and washing.
That strength is what makes removal difficult.
To get the patch off, you have to loosen the adhesive enough to reverse the bond without scorching, melting, stretching, shining, or discoloring the fabric underneath. On sturdy cotton or denim, that margin may be fairly workable. On polyester, nylon, silk, lace, rayon, or finished bags, it can be very small.
The second problem is the leftover glue. A removed patch may leave behind:
- a sticky film
- a stiff outline
- small gummy bits
- a shiny or darker-looking area
- lint that keeps grabbing to the same spot
In cleanup terms, that residue often behaves similarly to an oily stain: water alone may not do much, absorbent powder can help before wet treatment, and dish soap can help emulsify part of the residue on many washable fabrics. But adhesive formulas vary, so think of the oil-stain comparison as a practical analogy, not a perfect chemical match.
It also helps to confirm what you are actually removing, because not every decoration responds the same way.
How to tell patch types apart
- Iron-on embroidered patch: usually thicker, fabric-based, and often has a shiny or glossy adhesive layer on the back.
- Sew-on patch: usually has a flatter fabric backing and no obvious fused glue layer.
- HTV or iron-on vinyl: thinner, smoother, and more plastic-like than an embroidered patch.
- Printed transfer: looks more like a printed film or ink layer than a separate stitched patch.
That distinction matters. A thick embroidered iron-on may lift in sections. A thin vinyl or printed transfer may stretch, smear, fragment, or separate differently under heat or solvent. If you are dealing with HTV or a printed transfer rather than a fabric patch, use even more caution and less force.
Assess Your Fabric and Test for Safety First
Before you try to remove anything, check the care label if you still have it. The fabric determines how much room for error you have.
As a general rule from the source material:
- Cotton and denim are usually more forgiving.
- Canvas is often fairly durable.
- Polyester, nylon, and many blends are more heat-sensitive.
- Silk, chiffon, lace, rayon, and some wool items are high-risk for DIY removal.
- Leather, suede, and coated bags need extra caution with both heat and solvents.
Common risks by material:
- Synthetics: melting, warping, shine marks, finish damage
- Delicates: scorching, puckering, distortion, color change
- Wool: poor response to heat and agitation
- Leather and suede: staining, drying, finish change, texture change
A quick go / slow / stop checklist
More reasonable for careful DIY - Cotton, denim, or canvas - Item is washable and not especially valuable - Patch is accessible and flat - Hidden heat test passes - Hidden solvent test passes
Proceed slowly and expect compromises - Polyester, nylon, jersey, stretch blends - Bulky bags or backpacks - Older patches - Items with coatings, foams, or layered construction nearby
Better candidates for professional help - Silk, lace, rayon, fine wool - Leather or suede - Vintage, sentimental, or expensive items - Any item that already fails the hidden test - Any item showing scorch, shine, color shift, or texture change during early attempts
1. Test the heat
Pick a hidden area such as:
- an inside seam
- hem allowance
- the reverse side of the garment
- the inside of a bag flap
Place a thin cloth over that area and apply a brief pass of the heat level you think you may use. If the fabric scorches, wrinkles oddly, gets shiny, stiffens, shrinks, or changes color, stop and choose a gentler method or abandon DIY removal.
2. Test any remover
If you may use rubbing alcohol, a fabric-safe adhesive remover, or another solvent-based product, test it on a hidden edge or seam first. Let it sit briefly, blot, and inspect after drying for:
- dye transfer
- fading
- finish damage
- tackiness
- texture change
If the hidden area looks worse, do not use that product on the visible part of the item.
Other factors that change the job
- Older patches may be harder to remove.
- Patches that have been reheated or reapplied may resist more.
- Backpacks, lined jackets, and thick totes may warm unevenly because the construction holds mass and insulates the adhesive.
- Stretch fabrics can distort if you pull while the fabric is under tension.
If preserving the fabric matters more than getting every last trace off, decide that before you start. That mindset prevents most of the damage caused by over-pulling.
Tools and Supplies for Household Removal
You do not need a huge kit, but the right few items make the process more controlled.
For loosening and lifting the patch
- Iron for direct dry heat
- Hairdryer for gentler indirect heat
- Thin cloth, pressing cloth, parchment paper, or thin towel as a barrier
- Tweezers for edge-lifting
- Butter knife, dull scraper, or blunt spoon for gentle lifting
- Ironing board or towel over a firm surface
Helpful extras for stubborn cases
- Small scissors to trim already-loose sections
- Scrap cloth to catch or transfer softened surface glue during reheating
For cleaning residue afterward
- Baking soda or cornstarch
- Dish soap
- Rubbing alcohol
- Fabric-safe adhesive remover
- Cotton balls or clean white cloths
- Laundry detergent
Lowest-risk order to try at home
A practical order is:
- Heat or indirect heat
- Gentle peeling
- Absorbent powder
- Dish soap
- Alcohol or a specialty remover only if needed
That order is not a law. It is simply the most conservative sequence supported across the evidence pack. Heat loosens the bond. Powder can draw out some tacky surface residue. Dish soap is a lower-risk next step for many washable fabrics. Stronger removers may help, but they bring more dye and finish risk.
If you use solvent-based products, work in a ventilated area and avoid saturating the whole item.
Primary Method: Heat Loosening and Peeling
For many ordinary cotton, denim, canvas, and some blends, the most commonly recommended household approach is still controlled heat plus slow peeling.
Important qualification: treat this as a cautious, variable method, not a guaranteed standard. Exact heat level, timing, and success rate depend on the patch type, adhesive strength, fabric, age, and prior wear.
Step 1: Prepare the item
Lay the garment or bag flat on an ironing board or on a towel over a firm surface. Smooth the fabric so you are not pulling against wrinkles.
If possible, work from the back or inside-out side of the patch area, especially for transfers or more delicate surfaces. For thicker embroidered patches, working from the front through a barrier cloth may be more practical.
Step 2: Cover the patch
Place a thin cloth, pressing cloth, parchment paper, or thin towel over the patch.
This barrier helps reduce:
- direct scorching
- shine marks
- accidental sticking to the iron
- overly harsh contact heat
Step 3: Apply fabric-safe dry heat
Set the iron to the highest setting your specific fabric safely tolerates, not the highest setting on the iron in general. Keep steam off for this primary method.
Common tutorial guidance tends to cluster around:
- low heat for polyester, nylon, jerseys, and other heat-sensitive fabrics
- medium heat for cotton and many sturdier fabrics
- brief passes rather than long presses
Many public guides suggest something like a short pass in the 10 to 30 second range, but treat that only as a rough example, not a fixed rule. Thin fabrics and small patches may need much less. Thick bags and older patches may need repeated brief passes instead of one long one.
Step 4: Test an edge while the adhesive is soft
Lift the barrier cloth and try one corner with tweezers or a dull tool.
What you want is:
- some edge movement
- moderate tackiness
- release with gentle resistance
What you do not want is:
- hard resistance
- dragging fabric fibers upward
- stretching
- surface distortion
- melting or shine
If the edge does not want to move, stop and reheat. Do not pry aggressively.
Step 5: Work section by section
This is where most fabric damage happens if you rush.
A safer pattern is:
- heat a small section
- lift a small edge
- peel only the part that is ready
- reheat the stuck area
- repeat
If one portion releases but the middle is still firmly attached, fold the loose section back or trim it away and keep working only on the bonded area.
This is especially important on:
- knits
- jerseys
- thin cotton tees
- older patches
- layered bag panels
Step 6: Use a hairdryer when indirect heat is safer
A hairdryer is often suggested as the gentler alternative when direct ironing feels too risky.
Across the public guides, the typical advice is to warm the back of the patch area from a few inches away for roughly half a minute to a minute, then test the edge. Again, take that as an example range only. The right amount depends on thickness, airflow strength, and fabric sensitivity.
A hairdryer makes sense when:
- the fabric is synthetic or stretchy
- the surface might show iron marks
- the shape is curved or bulky
- you want slower heat buildup
The tradeoff is effectiveness. A hairdryer is usually less efficient than an iron because the heat is less concentrated.
Signs the method is working
- the edge begins to soften
- the patch lifts with controlled, moderate resistance
- the glue feels tacky instead of rigid
- each reheated section releases a little farther
Signs to stop immediately
- scorching
- odor of melting
- shine marks
- color change
- puckering
- unusual stiffness
- surface finish change
If you see any of those, the current method is too aggressive for that item.
Alternative Methods Without Direct Ironing
If you do not want to use an iron, or your fabric is too risky for direct contact heat, there are other household approaches. These should be treated as lower-confidence or more situational options, not first-choice guarantees.
Hairdryer or indirect steam
A hairdryer is the most practical non-iron option because it applies heat without pressure.
Use it on the back of the patch area if possible, keep it moving, and test the edge often. Expect slower progress than with an iron.
Some guides also suggest steam over boiling water as a way to soften adhesive indirectly. That is plausible as a gentle heat source, but it is harder to control and adds burn risk from hot water and steam. If you try it at all, treat it as a cautious last-gentle option, not a standard method.
Most appropriate situations for indirect heat:
- polyester
- nylon
- sports jerseys
- lighter knits
- items that show pressure marks easily
Main limits:
- slower than direct ironing
- weaker on older or heavily fused patches
- still not risk-free
Freezer method
Another household workaround is the freezer method: bag the item, freeze it for a few hours or overnight, then try to crack or lift the more brittle adhesive with a dull tool.
This is a lower-support option, but it may be worth considering when:
- heat seems unsuitable
- the item is small enough to bag easily
- the adhesive already feels stiff rather than rubbery
Its limitations are important:
- not every adhesive becomes brittle enough to release
- thick items may not chill evenly
- some fabrics or finishes may not respond well to freezing
- scraping can still damage the surface
If you try it, use only a dull tool and light pressure.
Solvent-first removal
If heat alone is not working, some guides recommend applying a tested solvent to the back of the patch area to loosen adhesive.
The most commonly suggested household option is rubbing alcohol. After spot-testing:
- turn the item inside out if possible
- apply a small amount behind the patch
- let it sit briefly
- check whether the edge loosens
- peel gently if it does
This method is often used with gentle heat rather than fully replacing heat.
Use extra caution:
- test first
- apply sparingly
- blot instead of scrubbing
- ventilate the area
- do not assume solvent-safe means finish-safe
Some sources mention acetone or nail-polish-remover approaches, but the evidence pack also makes clear that acetone can damage some fabrics and finishes. It is not a safe default, especially on polyester, nylon, or delicates.
Which non-iron method should you try first?
A conservative order is:
- Hairdryer
- Very cautious indirect steam, if you are comfortable handling it
- Tested rubbing alcohol from the back
- Freezer method if heat seems unsuitable or has already failed
That order keeps you closest to the least forceful, more reversible household approaches.
Cleaning Adhesive Residue Like an Oil Stain
Once the patch itself is gone, you may still have the part that looks worst: the glue.
Again, the useful mindset here is “treat this like a tacky residue that may respond to some grease-stain steps,” not “all adhesives are oils.”
Step 1: Remove loose or raised residue first
If you have soft clumps or tacky bits on the surface, lift or blot what you can without grinding them deeper into the fabric.
A useful trick from the source material is to place a scrap cloth over the residue and briefly reheat so some softened glue transfers into the scrap cloth instead of staying on the garment. This can reduce the bulk before wet cleaning.
Step 2: Apply absorbent powder before liquids
Before soap or water, cover the area with:
- cornstarch, or
- baking soda
Leave it on for about 15 to 30 minutes, then brush or shake it off.
This step is well supported by the first-party grease guidance for oily residues: absorbent powder can help pull tacky material up before liquid treatment spreads it sideways through the fibers.
Step 3: Use dish soap on washable cotton, polyester, and blends
For many ordinary washable fabrics, the next lower-risk step is undiluted dish soap.
Work a small amount into the residue with your fingertips or a soft cloth. Let it sit about 5 minutes, then rinse with warm water.
Why warm water here? Because on cotton, polyester, and similar washable fabrics, warmer water helps with oily or greasy residues better than cold.
Repeat if needed.
A few cautions from the evidence pack:
- avoid dish soaps with heavy moisturizers if possible
- do not assume one pass is enough
- do not machine-dry the item until the residue is really gone
Step 4: Escalate carefully to rubbing alcohol or a remover
If the spot stays tacky after powder and dish soap, try rubbing alcohol on a cotton ball or clean cloth.
Dab and blot rather than flooding the area. Use a fresh section of cloth as material lifts.
If you use a commercial fabric-safe adhesive remover, follow the same logic:
- test first
- use sparingly
- inspect before wider use
- stop if color or texture changes
On some items, solvent works best only after you have already removed the bulk of the glue with heat and soap.
Step 5: Launder, then inspect before drying
Wash the item according to the care label once the residue feels reduced.
Then check it before using the dryer.
This is one of the most reliable points in the evidence pack: heat from drying can set remaining residue more firmly and make later cleanup harder.
If you still feel stickiness or see a dark or glossy patch:
- repeat dish soap or alcohol treatment
- wash again if appropriate
- air-dry until you are sure the residue is gone
For wool and silk, use a milder version of this workflow: a diluted dish soap solution rather than full-strength soap, gentle patting rather than scrubbing, and a cold rinse.
Fabric-Specific Removal Tips and Risks
The same removal idea does not belong on every fabric.
One extra complication: different patch materials respond differently too. A thick embroidered patch may lift as a piece. HTV and printed transfers may stretch or fragment sooner. If the decoration is thin and plastic-like, use lower heat, less force, and lower expectations for a clean peel.
Cotton and denim
These are usually the most workable DIY fabrics.
Best practical approach:
- use a barrier cloth
- start at a moderate heat level
- increase only if the label and hidden test allow it
- peel while the adhesive is softened
- clean residue with powder first, then dish soap
Why this category is easier:
- cotton and denim generally tolerate heat better than many synthetics
- they also tolerate dish-soap residue treatment and warm rinsing better
Remaining risks:
- dye loss on dark fabrics if you overuse solvents
- a visible “ghost” outline where the patch protected the fabric from wear or fading
- texture damage if you scrape too hard
Polyester, nylon, and jerseys
These require the most caution among common everyday fabrics.
Best practical approach:
- use low heat
- prefer a hairdryer or other indirect heat if unsure
- keep the protective barrier in place
- peel slowly
- try dish soap before stronger residue removers
- test alcohol briefly and cautiously if needed
Important caution:
- do not treat acetone as a safe default on polyester or nylon
Why this group is risky:
- heat can melt or distort the fibers
- shine marks can appear before obvious melting
- performance finishes and stretch content can react unpredictably
On lightweight sports jerseys and performance tops, preservation matters more than perfect removal. A little residue is usually better than a warped panel.
Silk, lace, wool, rayon, and other delicates
These are high-risk DIY cases.
Best practical approach:
- favor indirect heat, if any
- test every step
- keep handling minimal
- use diluted dish soap rather than heavy soap application
- use a cold rinse, especially for wool
- consider professional help early
Why these fabrics are difficult:
- silk and lace can scorch or distort quickly
- wool can react badly to heat and agitation
- rayon can weaken when wet
- delicate fibers may already be fragile from age or wear
If the hidden test is anything less than clean, that is a strong reason to stop.
Leather, suede, bags, and backpacks
These need a different kind of caution.
For backpacks, heavy bags, and lined items:
- expect slower, less even warming
- use repeated short heat exposures instead of one long one
- watch for nearby foam, coating, or plastic trim
For leather and suede:
- test every solvent carefully
- do not saturate
- avoid harsh scraping
- use leather-safe products only if you are certain they are appropriate
- condition leather afterward if treatment leaves it dry
Why these are tricky:
- finishes can lift
- surface texture can change permanently
- adhesive may sink into seams or coatings
- thick construction makes heat less predictable
If the item is expensive or specialty material, professional cleaning is the safer route.
Troubleshooting Stubborn Patches and Damage Prevention
Some patches come off with patient reheating. Others barely move. The usual reasons are:
- the patch is old
- the adhesive bond is strong
- the item is thick
- the patch has been reheated before
- the fabric will not safely tolerate the heat level that would loosen the glue more fully
When that happens, do less, not more.
If the patch will not peel
Work in this order:
-
Reheat smaller areas Large areas cool quickly. Work one corner or strip at a time.
-
Lift only what is ready If one edge moves but the rest does not, stop there.
-
Combine gentle heat with a tested solvent A small amount of rubbing alcohol on the back, followed by another cautious heating round, may help.
-
Trim loose sections if they are in the way This can make it easier to focus on the bonded part.
-
Repeat patiently Older patches may need several cycles.
If glue smears instead of releasing cleanly
That usually means the adhesive has softened but is not separating neatly.
Try:
- peeling less at a time
- reheating through a scrap cloth so some glue transfers off
- moving sooner to the residue-cleaning stage instead of insisting on a perfect peel
If the fabric starts showing damage
Stop immediately if you notice:
- scorching
- discoloration
- melting
- shine marks
- puckering
- stiffness
- finish change
These are stop signs, not signs to push through.
At that point, your options are:
- lower the heat
- switch from iron to hairdryer
- stop using that solvent
- accept partial removal
- seek professional help
If a shadow or outline remains
Not every remaining mark is removable glue.
What looks like residue may actually be:
- uneven fading around the patch
- compressed texture
- heat effect on the surface
- a combination of wear contrast and small remaining adhesive traces
If the tackiness is gone but the outline remains, cleaning may have done all it can.
Can the patch be reused?
Usually, not reliably.
A patch may stay physically intact, but the original adhesive often weakens during removal. If you want to keep the patch, assume it may need new adhesive backing or sewing rather than simple re-ironing.
When to stop DIY and get professional help
That threshold comes sooner when:
- the item is valuable, vintage, or sentimental
- the fabric is silk, lace, suede, leather, fine wool, or coated material
- hidden tests show damage
- repeated rounds are not improving anything
- the glue is set deep into the fibers
- visible damage appears before the patch releases
The safest result is not always full removal. Sometimes it is limiting the damage to a small, acceptable mark.
In practice, iron-on patch removal works best when you treat it as two different jobs: first loosen the patch bond as cautiously as the fabric allows, then treat the remaining glue as a residue problem. Go slowly, test first, and let the fabric set the limits.
Can iron-on patches be removed without damaging clothes?
Often, yes—but not always completely.
Your best chance is on cotton, denim, canvas, and other sturdier fabrics, using tested heat or a tested remover and peeling slowly rather than pulling hard. Polyester, nylon, silk, lace, rayon, and similar materials carry more risk. Results also vary by patch age, adhesive strength, and whether the item has been reheated before.
Is a hairdryer as effective as an iron for removal?
Usually no, but it can be safer on some fabrics.
An iron gives more concentrated heat, so it often loosens the adhesive faster. A hairdryer is commonly less effective, but it can be the better choice for polyester, jerseys, and other heat-sensitive materials because the heat builds more gradually and adds less pressure.
Safe to use acetone or alcohol on all fabrics for residue?
No.
Rubbing alcohol and especially acetone can affect dyes, finishes, and some fibers. Polyester, nylon, and delicate fabrics are higher-risk categories. Test any solvent in a hidden area first, and for many items it makes sense to try absorbent powder and dish soap before moving to stronger spot treatments.
How to tell iron-on from sew-on patches?
Look at the back, if you can.
An iron-on patch usually has a shiny, glue-like backing. A sew-on patch usually has a flat fabric backing without that fused adhesive layer. If the decoration is very thin and plastic-like rather than stitched fabric, it may be HTV or a printed transfer instead of a traditional embroidered patch.
When should I call a professional cleaner?
Call a professional when the item is delicate, valuable, vintage, coated, or already reacting badly.
That includes silk, lace, suede, leather, fine wool, and specialty bags. It is also time to stop DIY if careful testing causes visible changes, if heat starts producing shine or scorch, or if repeated attempts are not loosening the patch without harming the fabric.