 StainList
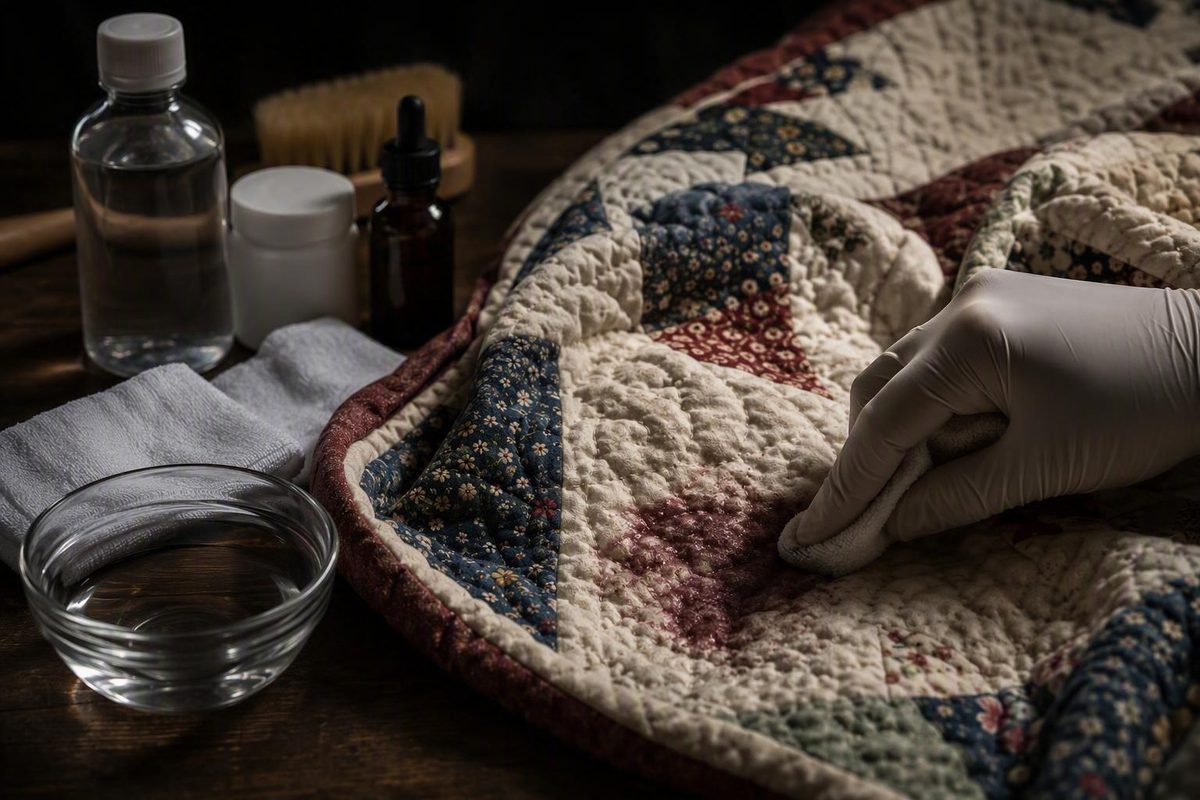
For a modern, sturdy quilt whose care label allows washing, start by lifting off any solids, blotting liquid with a clean white cloth, and testing cool water plus your chosen cleaner on a hidden seam. If no dye transfers and the fabric does not change, work on a small area from the edge of the stain toward the center, rinse out the cleaner, and let the spot air-dry. Do not use heat until the stain is gone.
Stop and consult a textile conservator if the quilt is antique, handmade with unknown materials, valuable, already fragile, decorated, filled with wool, affected by mold, or showing dye transfer. Cleaning can permanently change dyes, finishes, batting, and old fibers. The Canadian Conservation Institute’s quilt-care guidance specifically warns that wet quilts are heavy, washer and dryer action stresses the stitching and fabrics, and prized quilts are best wet-cleaned by a professional.
First decide whether this is a DIY job
Check the whole quilt, not only the spot. A small stain does not make the treatment small if liquid can spread into batting or carry dye into the surrounding fabric.
| What you see | Safest next move |
|---|---|
| Modern quilt, intact seams, known cotton or synthetic materials, washable care label | Test a hidden area, then use the restrained spot-treatment steps below |
| Loose seams, tears, brittle fabric, flaking print, beads, metallic thread, silk, wool, or unknown batting | Stop and seek a textile conservator |
| Antique, heirloom, signed, historically important, or irreplaceable quilt | Document the stain and seek a textile conservator before cleaning |
| Dye appears on a damp white test cloth | Stop; do not wet-clean it at home |
| Musty odor or visible mold | Isolate it from other textiles and get professional advice; do not shake or scrub it indoors |
| Ink, paint, rust, adhesive, mystery discoloration, or an old set stain | Avoid home solvent experiments; ask a qualified cleaner or conservator |
Age matters even when the quilt looks sound. The Smithsonian Museum Conservation Institute explains that old fibers are less resistant to tearing, stretching, and rubbing, while older stains are generally harder to remove. Its stain-removal guidance also notes that successful treatment depends on the stain, fiber, dye, and finish—not just the product used.
What you need
Gather a few simple items before starting:
- clean white cotton cloths or plain white paper towels;
- a spoon or dull edge for lifting solids;
- a shallow white dish;
- cool water;
- the quilt’s care label or maker instructions;
- one mild, label-approved laundry product suited to the identified stain;
- nitrile or household cleaning gloves if the product label calls for them;
- a clean, flat, colorfast towel to support the quilt.
Use a white cloth so transferred dye is easy to see. Work with good light and ventilation. Read the cleaning-product label for dilution, protective equipment, contact time, rinsing, and disposal. The CDC advises using products appropriate for the surface, wearing recommended protection, ensuring ventilation, and not mixing products or chemicals in its household cleaning safety guidance.
How to remove a stain from a washable modern quilt
1. Record and identify the stain
Take a photo before treatment. Note what caused the stain, when it happened, and anything already applied. Check the quilt label for fiber content and cleaning limits. If you do not know whether the mark is food, oil, ink, rust, dye bleed, or fabric deterioration, treat it as unknown and do not escalate through random products.
2. Remove the excess without rubbing
Lift dry or sticky material with a spoon or dull edge. For a fresh liquid, press a clean white cloth onto the area and lift it away. Move to a clean part of the cloth as it absorbs the spill. Do not scrub: rubbing can drive the stain deeper, spread it, pill the surface, or break weakened fibers.
Support the quilt flat while you work. Avoid letting a wet section hang, because the extra weight strains stitching and can distort the layers.
3. Test water and cleaner on every relevant color
Choose an inconspicuous area, such as a seam allowance or the back near the edge. Put a clean white cloth beneath it, apply a small amount of cool water, and blot. Look for color transfer, a change in sheen or texture, puckering, or a water ring. Repeat with the diluted cleaner you intend to use only if the water test is stable.
A quick hidden test reduces risk but cannot guarantee that a whole quilt is washable. The Canadian Conservation Institute’s colourfastness procedure tests each colored component and says to stop if dye moves; it also cautions that dyes can sometimes run later even after testing.
4. Match the low-risk treatment to the stain
Use the smallest amount of liquid that works, and follow both the quilt label and product label.
- Fresh water-based food or drink: Blot, then tamp with cool water. If the label permits, use a small amount of diluted mild liquid laundry detergent. Work from the stain’s outside edge inward, alternating treatment with blotting onto a clean white cloth.
- Blood, milk, egg, or another protein stain: Start with cold water. Heat can make protein stains harder to remove. An enzyme laundry pretreatment may be suitable for a modern washable cotton or synthetic quilt if both labels allow it, but do not use a protein-digesting enzyme on wool or silk.
- Grease or cooking oil: Lift residue and blot. On a washable modern quilt, a label-approved liquid laundry detergent can help suspend oily soil. Keep the treatment local and rinse it out completely. Do not improvise with dry-cleaning solvents.
- Mud: Let thick mud dry, then lift or gently vacuum loose soil before adding moisture. Test first, because rubbing gritty particles across the surface can abrade fibers.
- Ink, paint, nail polish, adhesive, rust, or an unknown old stain: Stop after blotting any fresh excess. These stains can require solvents or specialized chemistry that may remove the quilt’s dye or finish and may require professional ventilation.
Do not jump from one remedy to another. Residues can react, spread the stain, or make a professional’s later work harder.
5. Rinse, blot, and air-dry
After the stain stops transferring, use a separate cloth lightly dampened with cool water to remove cleaner residue. Blot with a dry white towel. Keep the quilt supported and allow the treated area to air-dry completely with normal room ventilation.
Inspect it only when dry; a damp patch can look darker than the surrounding fabric. If the stain remains but is lighter, repeat the same tested process once rather than increasing concentration, scrubbing harder, or adding heat. Stop if you see color movement, a spreading ring, distortion, fuzzing, or weakened stitches.
Should you wash the whole quilt?
Spot treatment is not automatically safer for every quilt: it can leave a tide line or concentrate stress in one area. Whole-quilt washing is reasonable only when the quilt is modern, structurally sound, known to be washable, and its maker’s instructions permit it. Follow those instructions for machine type, cycle, temperature, detergent, and drying method.
Do not put an antique or prized quilt into a household washer or dryer. The Canadian Conservation Institute’s general textile-care guidance says home appliances are too rough for delicate fabrics, wet- or dry-cleaning damage is irreversible, and some stains may remain even after cleaning. A permanent light mark is often preferable to torn fabric, bleeding dye, or displaced batting.
Common mistakes that can set or spread the stain
- Applying heat too soon. Skip hot water, irons, hair dryers, and a heated dryer until the stain is gone and the care label permits heat.
- Scrubbing. Tamping and blotting lift material; rubbing adds abrasion and spreads the affected area.
- Soaking before checking the quilt. Water can mobilize unstable dye, swell batting, stress seams, and create tide lines.
- Using chlorine bleach as a default. It can strip color and weaken some fibers. Even a non-chlorine bleach should be used only when the quilt and product labels allow it and a hidden test is stable.
- Mixing stain removers. Never combine bleach, ammonia, acids, disinfectants, or other cleaners. Use one product as labeled, rinse it out, and seek professional help rather than experimenting.
- Expecting an old stain to disappear. A stain can oxidize or chemically bond with fibers over time. Stop before removal causes more damage than the discoloration.
When the right result is to stop
The goal is not a perfectly spotless quilt at any cost. Stop when the stain no longer transfers, when another pass makes no visible improvement, or when the quilt shows any sign of damage. For an heirloom, antique, unstable, or high-value quilt, a textile conservator can assess fibers, dyes, finishes, batting, prior repairs, and the stain together. That is the safer route when the quilt’s history matters more than making the mark disappear.