 StainList
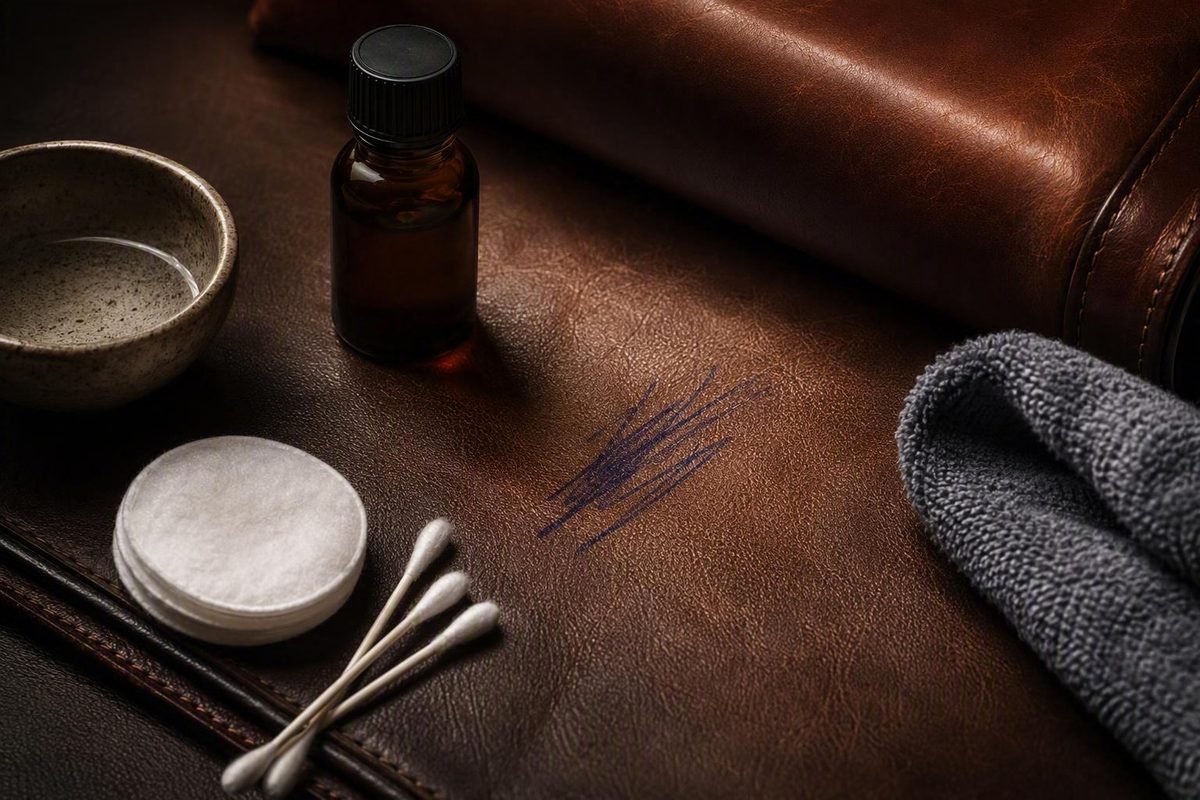
To remove pen ink from leather safely, first identify the leather finish, blot fresh ink without rubbing, and use the mildest cleaner the item’s manufacturer approves. On protected, pigmented leather, a leather-safe cleaner may lift a fresh ballpoint mark. On aniline, suede, nubuck, antique, or unknown leather, stop after gentle blotting and contact a leather-care professional. Do not treat rubbing alcohol, hairspray, nail-polish remover, bleach, or another household solvent as a universal fix: it may remove the leather’s color or topcoat along with the ink.
The right method depends on two things: whether the leather has a protective finish and what kind of ink caused the mark. A quick, restrained response is safer than trying several remedies in succession.
Before You Clean: Identify the Leather
Check the care label, purchase information, or manufacturer’s website before putting anything on the stain. “Genuine leather” does not tell you how the surface is finished.
| Surface | What it is like | Safest response |
|---|---|---|
| Pigmented or protected leather | Smooth or grained surface with a protective color/topcoat; common on many sofas and car seats | Blot, patch-test an approved leather cleaner, then treat only the mark |
| Semi-aniline leather | Light protective coating over leather that can still absorb stains | Use only the maker’s approved product; stop if the test area darkens or loses color |
| Aniline or “naked” leather | Open-pore, absorbent surface with little or no protective topcoat | Blot only; professional treatment is usually the lowest-risk option |
| Suede or nubuck | Velvety, napped, highly absorbent surface | Keep liquid cleaners off unless specifically approved; use a specialist |
| Patent leather | Glossy coated surface | Follow the item’s care instructions; avoid abrasives that can scratch the gloss |
| Faux, bonded, or polyurethane-coated material | A synthetic or composite surface that may resemble leather | Follow that material’s label; do not assume a genuine-leather method applies |
The Leather Care & Repair Specialists guide makes the same finish-first distinction: pigmented leather has a protective surface, while aniline, suede, and nubuck are porous and much more sensitive. If you cannot positively identify the material, treat it as delicate and do not experiment on the visible stain.
What to Do Immediately for Fresh Ink
- Remove the pen without dragging it. Lift it straight away so it does not draw a longer line.
- Blot a wet spill with a clean white cloth. Press lightly and lift. Move to a clean part of the cloth after each contact. Do not rub, scrub, or wipe outward.
- Keep the stain small. Work from the outside edge toward the center. Avoid flooding the area, which can spread dissolved ink into a halo.
- Check the care instructions. If the manufacturer names a cleaner or service procedure, that direction takes priority over a general stain guide.
- Photograph the stain. A clear photo helps a manufacturer or leather technician assess the finish and damage if home treatment stops.
Fresh marks are generally easier to address than set stains. Both Latico Leathers and leather-care specialists advise blotting promptly, testing in an inconspicuous area, and avoiding aggressive rubbing.
A Low-Risk Method for Finished, Pigmented Leather
Use this method only when you have confirmed that the leather is protected or pigmented and the care instructions permit damp cleaning.
1. Patch-test first
Test the proposed cleaner on a hidden area made from the same material, such as the back or underside. Use a white cloth so color transfer is easy to see. Let the test spot dry fully before judging it. Stop if the leather becomes sticky, lighter, darker, duller, rougher, or transfers color to the cloth.
Do not create a water-drop test on a valuable item just to identify the finish. If the label and purchase records do not answer the question, ask the manufacturer or a professional.
2. Start with the maker-approved mild option
Put a small amount of the approved leather cleaner on a cloth or cotton swab—not directly on the leather. If the maker permits mild soap, use a barely damp cloth with a small amount of mild soap, then follow its rinsing directions. Touch only the ink line and lift the swab straight up. Replace the swab as ink transfers so it is not deposited elsewhere.
Do not soak the leather. Several gentle passes are safer than one hard scrub. The Yves Salomon leather-ink guide emphasizes immediate blotting and explains why open-pore finishes absorb ink more readily than coated leather.
3. Use a dedicated ink remover only if it matches the finish
If mild cleaning does not lift the mark, the next step is not automatically a stronger household chemical. Choose a leather ink remover whose label explicitly covers the item’s exact finish and ink type. Read the entire label, observe its contact time, and repeat the hidden-area test.
Apply the smallest amount with the applicator the label specifies. Avoid the surrounding clean leather. Wipe away lifted ink and residue as directed. Stop immediately if color or finish transfers, the surface becomes tacky, or the stain spreads.
Dr. Beasley’s leather-care guidance recommends a purpose-made remover over household alcohol and warns that alcohol and other solvents can fade dye and dry the leather. It also advises professional repair for aniline leather, where removing the ink may also remove color.
4. Let the area dry and reassess
Allow the leather to air-dry away from heaters, hair dryers, and direct sun. Do not keep applying products while the surface is wet; temporary darkening can make it hard to see whether the treatment worked.
Only apply conditioner if the item’s manufacturer recommends it for that leather. Some finished leathers and branded goods have specific aftercare rules, and conditioner is not a universal final step.
Adjust the Plan for the Ink Type
Ballpoint pen
Ballpoint marks often appear as narrow lines on topcoated leather. A fresh line may transfer to a swab with a compatible leather cleaner or dedicated ballpoint-ink remover. Keep the treatment confined to the line. If the mark has migrated beneath the clear coat or has been present for days, further cleaning may remove the coating before it removes the ink.
Fountain-pen, rollerball, or gel ink
These pens can release more liquid than a ballpoint. Prioritize blotting and containment. Do not add cleaner until loose ink has stopped transferring to a dry cloth. On absorbent leather, the visible edge may be only part of the stain, so home treatment can enlarge it.
Permanent marker
Permanent-marker stains are designed to resist removal and often require a treatment strong enough to threaten the leather finish. Do not escalate to acetone or nail-polish remover. Send valuable items, broad marks, and any open-pore leather to a professional.
Old or set ink
Set ink may have penetrated the color layer or topcoat. At that point, restoration can involve color repair rather than cleaning alone. The specialist guide from Leather Care & Repair Specialists notes that old marks can be difficult to remove without damaging the color layer. Repeated scrubbing is unlikely to improve that tradeoff.
Products to Avoid as Default Remedies
Online tips often recommend rubbing alcohol, hairspray, perfume, hand sanitizer, acetone, nail-polish remover, vinegar, baking soda, toothpaste, bleach, or ammonia. The problem is not simply whether one of them can dissolve ink. It is whether it can do so without dissolving, drying, bleaching, scratching, or clouding this particular leather finish.
- Do not mix cleaning chemicals. Combining products can create hazardous fumes or unpredictable reactions and makes it harder to stop surface damage.
- Do not use alcohol or another solvent unless the leather manufacturer and product label expressly approve it for the finish. Isopropyl alcohol is not just a cleaner; the CDC/NIOSH Pocket Guide identifies it as a flammable liquid and lists inhalation plus skin and eye contact as exposure routes.
- Do not scrub with an eraser, abrasive pad, or brush on smooth finished leather. Friction can change sheen or remove the topcoat.
- Do not saturate the stain. Excess liquid can carry ink farther into the leather or leave a tide mark.
If an approved product contains a solvent, work with good ventilation, extinguish flames and other ignition sources, and use the gloves or eye protection specified on its label or safety data sheet. Keep children and pets away until the area is dry. Never transfer a chemical into an unlabeled container.
When to Stop and Call a Leather Professional
Professional help is the safer choice when:
- the item is antique, collectible, expensive, or emotionally irreplaceable;
- the leather is aniline, semi-aniline, suede, nubuck, exotic, very soft, or unknown;
- the care label prohibits home cleaning;
- the ink is permanent, old, broad, or soaked through;
- the patch test changes color, sheen, texture, or flexibility;
- the surface becomes sticky or color appears on the applicator;
- previous remedies have already been used; or
- cleaning would affect a large, highly visible area.
A technician can determine whether the realistic remedy is stain removal, color restoration, or accepting a faint mark to preserve the original finish. That is often a better outcome than turning a small ink line into a large faded patch.
Quick Answer by Leather Type
For confirmed pigmented leather, blot fresh ink, patch-test the manufacturer-approved cleaner, and use a compatible dedicated ink remover only as labeled. For aniline, suede, nubuck, antique, valuable, or unidentified leather, blot without rubbing and consult a professional. For every finish, keep the area dry as practical, avoid household-solvent experiments, never mix chemicals, and stop at the first sign of color or finish damage.