 StainList
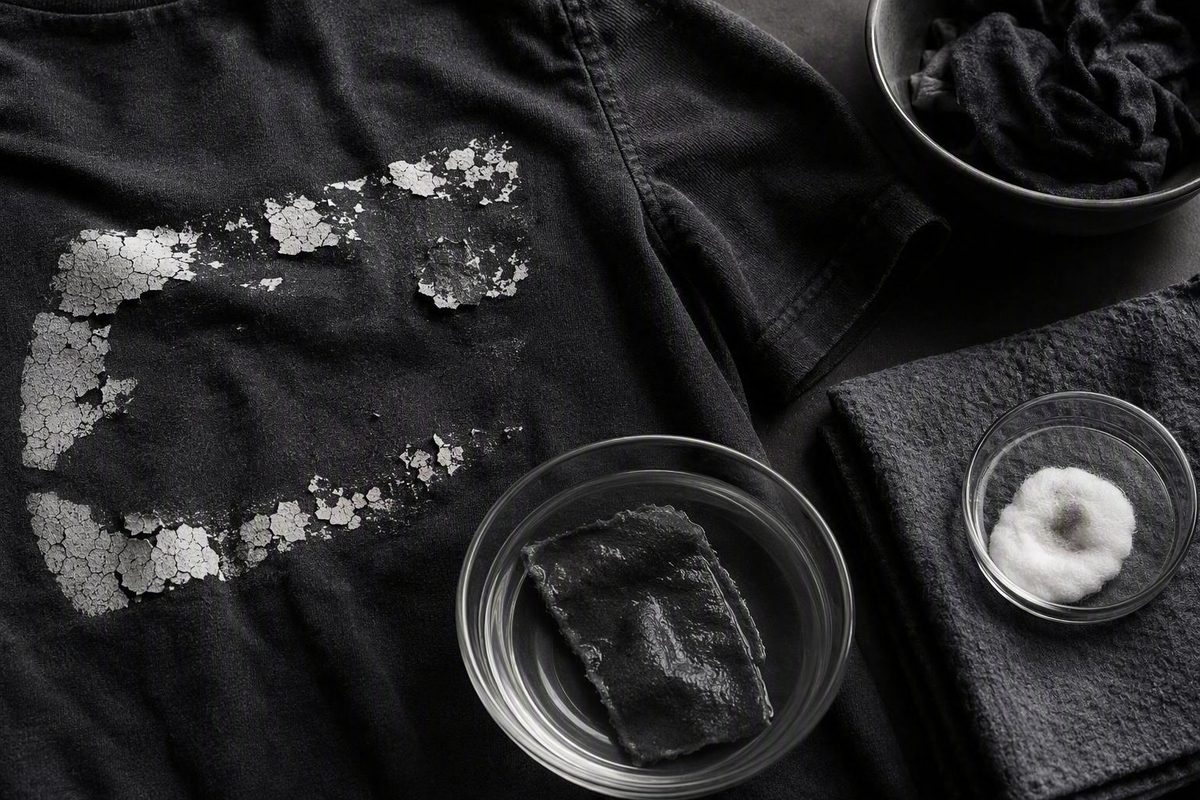
Removing screen printing from a shirt is sometimes possible, but a clean, invisible result is not guaranteed. A fresh printing error or tiny ink spot is a more realistic candidate than an old, fully cured chest or back graphic. Before doing anything, identify the garment fiber, estimate the decoration and ink type, test the least aggressive suitable treatment in a hidden area, and stop immediately if the dye or fabric changes.
The short answer: removal is possible, but a clean result is not guaranteed
A small amount of fresh or stray ink may come out or become less visible. A large cured design is different: it was intended to remain bonded to the shirt through wear and washing. Trying to strip it can leave:
- A faint outline or “ghost” of the design
- A lighter or darker patch
- Dissolved ink or oily residue around the treatment area
- A rough, fuzzy, or weakened fabric surface
- Tackiness, warping, scorching, or melting
- A partially removed design that looks worse than the original
Commercial removal guides report these possible outcomes, but they do not provide controlled comparisons across fibers, dyes, finishes, and ink formulas. Treat the risks as reasons to proceed cautiously, not as a prediction of exactly how a particular shirt will react. Review the reported removal limits and fabric-damage risks.
Artemis Awards and Apparel says its shop normally treats plastisol defects no larger than a penny, including fingerprints, smudges, and isolated ink spots. This reflects one print shop’s experience rather than controlled textile testing. See how the print shop evaluates small and large removal jobs.
Consider limited treatment only when all of the following are true:
- The mistake is fresh, or the cured spot is small.
- The shirt’s complete fiber content is known.
- The fabric is sturdy and washable.
- The garment is replaceable if the attempt fails.
- You can tolerate a remaining shadow or color change.
- A fully dried patch test produces no visible or structural change.
Skip DIY removal for sentimental, vintage, delicate, extensively printed, synthetic, unknown-fiber, or garment-dyed shirts. Commercial sources specifically warn that heat can damage synthetics, solvents can alter fabric or dye, and garment-dyed material can discolor during professional ink removal. For these shirts, concealment or professional evaluation avoids uncontrolled home experimentation, although neither guarantees a perfect result.
Check the care label, print type, and design size first
Record the care-label fiber content and instructions before selecting a method. Then examine the print under good light and run a finger over its edge.
| What you observe | Likely interpretation | Removal outlook | Safest next move |
|---|---|---|---|
| Raised, thick, or rubbery print | Possible plastisol | A tiny defect may respond to specialist spot treatment; a large cured design is high risk | Ask a print shop about a small spot; cover or replace a large design |
| Color appears integrated into the fibers | Possible water-based or discharge print | Water-based ink may fade; discharge may have no removable surface layer | Confirm with the printer if possible; avoid aggressive stripping |
| Brand-new printing error | Ink may be incompletely cured | More promising than an old design, but treatment depends on the ink and garment | If the labels permit it, act promptly with cold water and avoid heat |
| Tiny cured spot | Possible isolated plastisol defect | One of the more practical professional-removal cases | Request targeted spot removal, particularly on sturdy cotton |
| Older, large design | Fully cured or deeply bonded decoration | High risk of ghosting, discoloration, and fabric damage | Compare professional assessment, concealment, and replacement |
These observations are clues, not identification tests. Those processes do not necessarily respond like screen-printing ink. If possible, ask the printer or garment supplier what decoration and ink were used.
Discharge printing is particularly important to recognize. Instead of leaving only a removable film on top, it changes the fabric’s underlying color, so there may be no distinct ink layer to strip away. Commercial guidance describes discharge prints as impractical or nearly impossible to reverse, while distinguishing them from plastisol and water-based ink.
Also consider:
- Print area: A tiny spot permits precise treatment; a broad image exposes much more fabric.
- Cure status: Fresh, apparently uncured ink and an old heat-cured print call for different decisions.
- Garment dye: Removal chemistry may alter the shirt color before it clears the print.
- Shirt value: Replacement may be sensible for an inexpensive blank but not for an irreplaceable garment.
- Finish tolerance: Decide whether a faint image, uneven color, or changed texture would be acceptable.
Treat polyester, nylon, elastane-containing blends, unknown blends, and garment-dyed shirts as higher-risk candidates. Knowing the fiber percentages helps identify the material, but it does not prove compatibility with a particular remover, solvent, or heat treatment.
Choose the next step by scenario
There is no universal recipe for how to remove screen printing from a shirt. Choose a path based on whether the problem is a fresh mistake, a tiny cured spot, or a large cured design.
For a brand-new, apparently uncured mistake
- Read the garment care label and any available printer or ink instructions.
- If those instructions permit washing, act promptly with cold water.
- Avoid the dryer, iron, hot wash, or other heat until the ink’s cure status is known.
- Inspect the shirt while wet and again after air-drying, if air-drying is allowed.
Caydo recommends an immediate cold-water wash for a brand-new printing error and warns that warmth may set the ink. This is commercial retailer guidance without independent garment-and-ink testing, so the garment and ink instructions override it. Read Caydo’s fresh-print guidance.
For a penny-sized cured plastisol spot
Ask a screen-printing shop whether it offers targeted cured-ink removal. The cited print shop reports that this works best on sturdy 100% cotton, but cotton is not immune to dye loss, residue, or fiber damage.
Professional spot treatment is materially different from soaking or rubbing a shirt at home. Artemis describes applying solvent precisely with a spray gun while a vacuum table draws dissolved plastisol through the fabric before it can spread or stain. Ask the shop whether it will test first, what finish it expects, and whether a faint mark may remain.
For a large cured graphic
Before applying heat or solvent over a broad area, compare:
- Professional assessment
- Overprinting or embroidery
- A fabric patch
- Repurposing the shirt
- Replacing the garment
A cracked or fading water-based print may continue to fade through ordinary care, and an already worn print may lose more material over time. Washing is not a dependable method for removing cured plastisol. Do not intensify laundering beyond the care label to force the process.
If you use a labeled ink remover, control the treatment area
Use only a product explicitly labeled for the relevant ink or for screen-print removal on compatible textiles.
ScreenPrinting.com recommends selecting a remover labeled for ink or screen-print removal, patch-testing it, placing absorbent backing beneath the print, and avoiding forceful scrubbing. Because this procedure comes from a commercial supplier without independent compatibility testing across textiles and inks, treat it as cautious, label-led product use rather than a universal method. Read the supplier’s spot-removal procedure.
- Read both labels. Check the remover’s compatibility, ventilation, protective-equipment, rinsing, laundering, storage, and disposal directions. Confirm that the garment label permits the required treatment.
- Patch-test the shirt. Apply the product exactly as directed in an inside seam or another concealed area. Let it dry for the stated period, then check for dye transfer, lightening, darkening, weakness, tackiness, or texture change.
- Insert absorbent backing. Place a clean, label-compatible absorbent cloth beneath the print inside the shirt to help reduce transfer to the reverse side.
- Isolate a small section. Do not saturate the entire graphic. Apply only the label-directed amount to a limited area.
- Observe the stated dwell time. Do not assume that leaving the remover longer will improve the result.
- Blot or work gently. Use a clean cloth or soft brush only if the label permits it. Aggressive scrubbing can spread dissolved ink and abrade the fibers.
- Rinse or launder as directed. Use only a method and water temperature permitted by both the remover and garment labels.
- Inspect before drying. Air-dry if allowed, then examine the shirt for remaining ink, residue, discoloration, or texture change before deciding whether to continue.
Stubborn or layered printing may remain partly visible. Do not use an arbitrary attempt count: each application increases the shirt’s exposure, and the controlling product label may not permit repetition.
Match the risk to the shirt fabric
| Shirt type | Main concern | Practical recommendation |
|---|---|---|
| Sturdy 100% cotton | Dye loss, residue, abrasion, heat damage, or weakened fibers | Most promising candidate for tiny targeted treatment, but patch-test first |
| Cotton-polyester blend | A treatment tolerated by cotton may harm the synthetic component | Fiber percentages aid identification but do not establish compatibility; verify the product label or seek professional assessment |
| Polyester or nylon | Warping, melting, tackiness, dye change, and solvent sensitivity | Do not improvise with heat or solvent; seek professional assessment or conceal the print |
| Garment-dyed shirt | Removal chemistry may strip or shift the garment dye | Avoid DIY solvent treatment |
| Delicate, vintage, or sentimental garment | Irreversible color, surface, or structural damage | Choose professional evaluation, a cover, or no treatment |
These risks are reported in commercial print-removal guidance rather than validated by a comprehensive fiber-and-remover compatibility study. The cited print shop considers sturdy 100% cotton its most promising material for a tiny plastisol defect and identifies garment-dyed fabric as especially vulnerable to chemical discoloration. Other commercial guidance warns that direct heat can melt polyester or nylon and that solvents may stain or damage fabrics.
Blends require decisions based on every component, not only the largest percentage. Unknown fiber percentages add uncertainty, but even exact percentages do not establish that a specific chemical or temperature is safe.
Do not adapt a cotton procedure by guessing at a “low” temperature for polyester, nylon, or elastane-containing garments. The decoration, garment dye, finish, and individual fibers may react differently. Professional evaluation does not guarantee restoration, but it avoids an uncontrolled DIY solvent or heat experiment on a valuable garment.
Do not treat acetone as a proven shirt remedy
Acetone is not a general recommendation for removing screen printing from shirts. A safety data sheet can establish a product’s chemical hazards, but it cannot establish that the product will remove plastisol, work on another ink, or preserve a particular fiber, dye, or finish.
The cited Klean-Strip product is 100% acetone intended for thinning paint, stain, and varnish—not garment treatment. Its safety data sheet classifies it as a highly flammable liquid and vapor that causes serious eye irritation and may cause respiratory irritation, drowsiness, or dizziness. Read the Klean-Strip Acetone safety data sheet.
Do not use acetone merely because a generic online method describes it as a strong solvent, and do not apply it broadly to a shirt. If you handle an acetone product for a purpose expressly allowed by its label, follow its safety directions:
- Work outdoors or in a well-ventilated area.
- Eliminate flames, sparks, smoking, hot surfaces, and other ignition sources.
- Wear splash goggles and chemically resistant gloves specified as suitable by the product documentation.
- Keep the container closed when not in use.
- Do not spread the product over a large surface.
- Follow the label and applicable local requirements for leftover liquid and contaminated materials.
Never mix solvents. Commercial removal guidance specifically advises against mixing them; doing so also makes textile compatibility less predictable.
Know when to stop—and what to do instead
Stop treatment as soon as you see:
- Shirt dye on the test cloth
- A lighter or darker patch
- Ink spreading beyond the original edge
- An oily mark or ring
- Weak, thin, fuzzy, or distorted fibers
- A tacky surface
- Warping or loss of shape
- Scorching or melting
- No meaningful progress
Do not automatically respond with a stronger solvent, more heat, harder scrubbing, a longer dwell time, or broader application. Lack of progress indicates that the method may be unsuitable or that the print is too well bonded; it does not justify escalating the treatment.
The available evidence does not support a reliable DIY method for restoring the area to a uniform, like-new appearance.
Instead, consider:
- Overprinting: Incorporate the old image into a larger, darker design.
- Embroidery: Cover a small logo or mark with a stitched motif.
- Fabric patch: Use a decorative or deliberately visible repair.
- Repurposing: Turn the shirt into sleepwear, a cleaning cloth, a tote, or craft material.
- Replacement: Choose this for an inexpensive shirt with a large cured print when a predictable finish matters.
For a tiny defect, ask a print shop about targeted treatment. For a valuable or irreplaceable garment, seek professional evaluation before experimenting. For a large cured graphic on a replaceable shirt, concealment, repurposing, or replacement will usually offer the most predictable result.
The practical sequence is simple: identify the fabric and decoration, patch-test the least aggressive suitable option, treat only a small appropriate case, inspect before drying, and stop at the first change in the shirt’s dye or structure.