 StainList
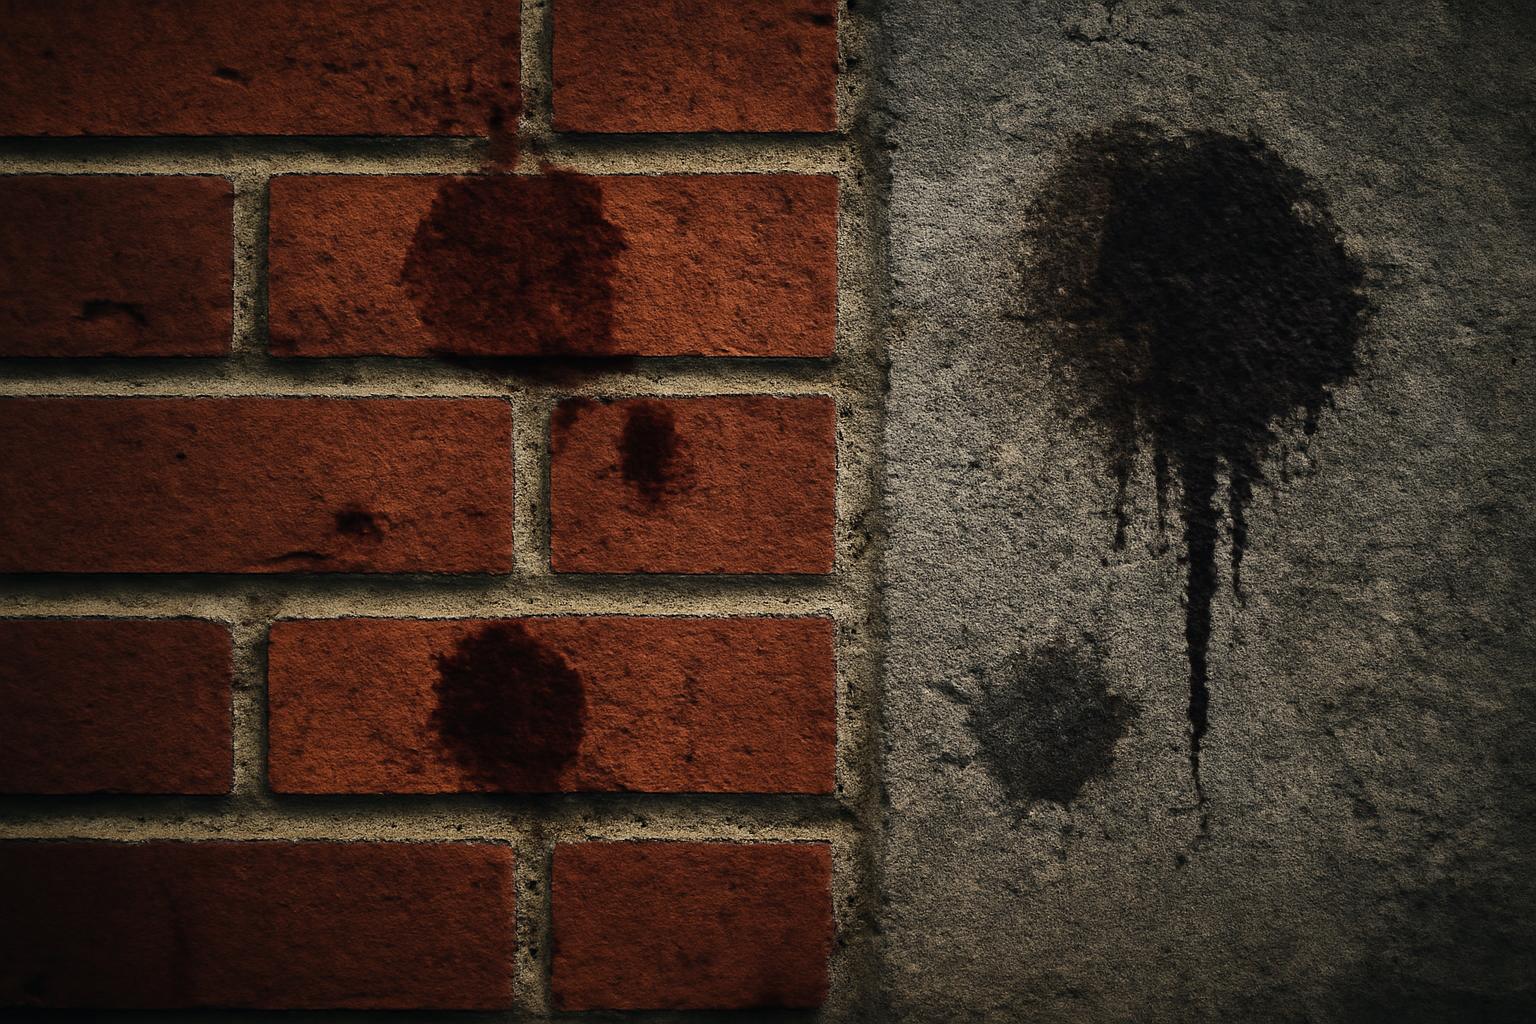
The term can be ambiguous, so it helps to say that up front. This guide is about spotting the likely cause, choosing the least aggressive workable method, and knowing when to stop before you change the surface more than the stain.
That matters because many masonry stains look similar at first. A white deposit may be simple efflorescence or a tougher white film. A brown streak may be rust, manganese, or runoff from somewhere above. A dark patch may be oil, algae, asphalt, or plain ground-in dirt. Since masonry is porous, the wrong cleaner can spread the problem, lighten the face, roughen the finish, or make a future stain more likely to soak in.
Before you treat any stain, use this simple sequence:
- Identify the likely stain first.
- Dry-remove or absorb excess before adding liquid.
- Test the cleaner on a hidden area.
- Start with the least aggressive method that fits the stain.
- Rinse thoroughly.
- Let the surface dry fully before deciding whether it worked.
That last step is easy to underestimate. Masonry often looks cleaner while wet than it does after it dries. Deep stains can also wick back to the surface later, especially on brick, block, grout, and concrete.
Related: How to Remove Paint From Concrete Without Making the Stain Worse.
Understanding Mason Stains on Brick and Concrete
PROSOCO’s Guide to common masonry stains groups new-construction stains as excess mortar, rust, job dirt, mud or clay, green vanadium, brown manganese, white efflorescence, white scum, oil and grease, acid burn, and lime run; it also lists restoration stains such as graffiti, oil and grease, algae or lichen, copper staining, water-repellent blush, carbon staining, silicone sealant bleed, asphalt or tar, hard-water deposits, and paint in its Guide to common masonry stains.
That list is more than taxonomy. Different stains respond to different chemistry and different levels of mechanical help. Salts often respond best to dry-weather brushing and mild cleaning. Oils usually need absorption first, then surfactants or alkaline degreasers. Organic growth is often better handled with cleaners meant for biological soiling. Metal stains may need a rust or copper remover rather than a general masonry wash. The more deeply a stain has dried into the pores, the less predictable full removal becomes.
A good first diagnostic is to compare color, location, and likely source. White powder that fades or disappears when wet points toward efflorescence.
Identification also matters because masonry is not one material. Red brick, colored brick, concrete block, cast stone, limestone, mortar joints, pavers, and poured concrete can react very differently to the same cleaner. CMHA advises identifying the stain before treatment and testing any method on an inconspicuous area if the substance is uncertain. Indiscriminate cleaning can spread staining or create lighter areas that are harder to live with than the original mark (CMHA, Removal of Stains From Concrete Masonry).
Prevention Tips for Mason Stains During Construction
The easiest masonry stain to remove is the one that never bonds in the first place.
During new work, try to keep mortar and grout off the face of the units instead of planning a big acid wash later. CMHA recommends letting adhered mortar droppings harden, then removing them with a trowel or chisel and following with a stiff fiber brush rather than smearing wet residue across the surface (CMHA, Removal of Stains From Concrete Masonry). That basic habit prevents a lot of later cleanup problems.
Protect the base of the wall during construction. CMHA specifically recommends plastic sheeting 3 to 4 feet out on the ground and 2 to 3 feet up the wall to reduce splashing mud and mortar droppings, and it recommends covering the tops of unfinished walls at the end of the workday to keep rain from entering the wall and contributing to efflorescence formation (CMHA, Removal of Stains From Concrete Masonry). Those are small jobsite steps, but they directly reduce later staining.
Timing matters too. PROSOCO notes that mortar residues clean most effectively within about 14 to 28 days after installation, before weathering and repeated wetting drive the residue in deeper (PROSOCO, Guide to common masonry stains). In practical terms, that means it is better to clean construction residue on schedule than to let it sit through multiple storms and then try to remove a more stubborn, more embedded problem.
It also helps to prevent repeated wetting from above. Many “mystery stains” are not really mystery stains at all; they are clues to a moisture path. If the top of a wall is left open, if flashing drips onto the face, or if sprinklers repeatedly soak the same area, stains that look cosmetic may come back because the cause never stopped.
Removing Excess Mortar and Efflorescence
Excess mortar and efflorescence are often mistaken for each other because both can leave pale residue on masonry. They are not the same problem, and they should not be cleaned the same way.
For excess mortar, droppings, or smear, start dry. Lift or chip away hardened buildup carefully enough not to gouge the face, then brush the remaining residue with a stiff fiber brush. If a cleaner is still needed, use one made for the exact substrate. PROSOCO’s stain guide separates recommendations by material type, such as red brick with gray mortar versus colored brick or brick with colored mortar, which is a reminder that “brick cleaner” is not a single universal category (PROSOCO, Guide to common masonry stains). Let the wall dry as directed by the product, and patch-test before doing the visible area.
For efflorescence, CMHA recommends waiting for dry conditions and then using methods such as dry brushing, scrubbing with water and detergent, or an appropriate proprietary cleaner. It also warns that acids can dissolve the cement matrix, increase porosity, and alter color in concrete masonry (CMHA, Removal of Stains From Concrete Masonry). That warning is one of the biggest reasons not to jump straight to acid when you see white staining.
The dry-weather point deserves emphasis. Efflorescence is a salt deposit carried to the surface by water moving through masonry. If the wall is still wet inside, you can remove today’s crystals and have more appear later. The more durable fix is not just “wash the white stuff off,” but “remove the deposit under dry conditions and reduce the water movement that formed it.”
A quick field clue helps here: powdery efflorescence often disappears when wet and reappears when dry (PROSOCO, Guide to common masonry stains). That behavior is different from a hard crust or a stubborn gray-white film.
That harder film may be white scum rather than efflorescence. PROSOCO describes white scum as an uneven white or gray residue associated with inadequate acid cleaning and recommends a dedicated white-scum remover after identification (PROSOCO, Guide to common masonry stains). In other words, if the deposit does not behave like powdery salts, stop treating it like efflorescence and recheck the stain type before you keep scrubbing.
Rust, Vanadium, and Manganese Stains on Brick
Brown and orange stains cause a lot of misdiagnosis on masonry because several unrelated problems can look similar from a distance.
Rust stains usually appear as red, orange, or brown marks below ferrous metal, on concrete where patio furniture or tools sat, or around fasteners and hardware. On concrete, Morgan Pavement describes a sensible light-to-strong sequence: first scrub with soap and water to remove surface dirt, then move to a rust remover if needed; if the stain persists, an oxalic-acid rust remover is a common next step in concrete cleaning guidance (Morgan Pavement, “6 Different Types of Concrete Stains”). On masonry more broadly, keep the same order of thinking but be more conservative: clean the surface first, use a product intended for rust or ferrous staining, and test before scaling up. PROSOCO likewise lists a ferrous stain remover for superficial rust in its masonry-stain guide (PROSOCO, Guide to common masonry stains).
Green vanadium is different. PROSOCO describes it as yellow, green, or purple discoloration that can appear on some light-colored brick when water-soluble vanadium salts reach the surface. Its guide lists Sure Klean 800 Stain Remover as an example treatment and advises allowing the masonry to dry thoroughly before cleaning (PROSOCO, Guide to common masonry stains).
Brown manganese staining is another specialized case. PROSOCO describes it as tan, brown, or gray staining that may appear along mortar joints in manganese-colored brick and also lists Sure Klean 800 Stain Remover as an example product for that condition (PROSOCO, Guide to common masonry stains).
With all three—rust, vanadium, and manganese—the big practical warning is the same: colored and textured masonry can clean unevenly. A product that removes the stain may also slightly lighten the surrounding face, especially if the finish is already weathered or if the stain sits only on one unit in a varied wall. Test in a hidden area, work small sections, and rinse thoroughly before judging the result (PROSOCO, Guide to common masonry stains; CMHA, Removal of Stains From Concrete Masonry).
Also remember that recurring rust is often not a cleaning failure. It is a source problem. If the metal above is still corroding or water is still running across it, the stain may come back even after a good cleaning.
Oil, Grease, and Food Stains from Concrete and Pavers
Oil and grease are among the most common driveway and patio stains, and porous masonry makes them harder than they look.
The first rule is simple: do not start with water. Fresh oil and grease should be blotted or scraped first, then covered with an absorbent so it can pull the oil up before any wet cleaning begins. Stain List’s hard-surface guidance specifically recommends pressing cat litter or sawdust into fresh grease on concrete or pavers for several hours before using liquid cleaners, because these surfaces are porous and wet treatment too early can spread the stain (Stain List, “Grease and Oil Stains”).
After the absorbent step, scrub with dish soap or another degreasing cleaner and a stiff brush, then rinse with a hose. If soap is not enough, Stain List describes a sodium hydroxide–based alkaline degreaser as a common and effective next step for grease on concrete and pavers, with the important limitation that it should be diluted exactly per label instructions (Stain List, “Grease and Oil Stains”). Because that is a caustic cleaner, the label and protective equipment matter.
Food grease behaves much the same way. Morgan Pavement’s concrete guidance recommends blotting first, then using dish detergent and absorbents such as baking soda in layers for greasy food spills before rinsing (Morgan Pavement, “6 Different Types of Concrete Stains”). The key point is the sequence, not the pantry brand: remove surface grease, absorb what you can, then emulsify what remains.
Older petroleum stains are where expectations need adjusting. Once motor oil has sat through heat cycles and rain, some darkening may remain below the surface even after the face looks much better. Improvement is common; perfect removal is not guaranteed. That is a normal consequence of porous material, not necessarily the wrong cleaner.
If the stain is on grout or small-format pavers, work gently enough not to dig out the joints while scrubbing. The same absorb-first logic still applies, but aggressive wire brushing can create a second repair problem next to the stain.
Mold, Mildew, Algae, and Organic Stains
Green or black staining on shaded walls, steps, and hardscape is usually an organic-soiling problem rather than a mineral one. That changes what you want from the cleaner. You are not just dissolving residue; you are trying to loosen or kill growth and then rinse it away without scarring the masonry.
For light surface soiling, homeowners often start with water, mild detergent, or other light-duty household cleaning. Because that advice is concrete-specific and not a substrate-by-substrate masonry standard, it is best treated as a cautious starting point for light residue rather than a universal masonry recipe.
When growth is heavier or recurring, a cleaner specifically labeled for biological soiling is a more predictable next step. PROSOCO markets ReVive as a biological soiling remover for mildew, mold, atmospheric staining, and soiling on brick, stone, and concrete masonry, and it presents that product as suitable for power-washing applications on those materials in its article on brick cleaners for power washers.
If landscaping is close to the wall, product choice matters. In the same PROSOCO article, the company describes some of its cleaners as safe around landscaping or designed to reduce harsher cleanup steps, including products marketed as requiring no neutralization after use (PROSOCO, “What Are The Best Brick Cleaners for Power Washers?”).
Mechanical technique matters as much as chemical choice. CMHA warns that high-pressure washing can damage masonry if used carelessly, especially when cleaning is not planned around the substrate and stain type (CMHA, Removal of Stains From Concrete Masonry).
Graffiti, Paint, and Tough Restoration Stains
Graffiti, paint, copper runoff, tar, silicone bleed, and hard-water deposits sit in a different category from ordinary dirt or fresh food spills. These are the stains most likely to push a DIY job into repeated testing, specialty chemistry, or partial improvement rather than total removal.
For graffiti, PROSOCO’s stain guide lists dedicated removers such as Defacer Eraser or other paint-stripping products rather than general-purpose soap (PROSOCO, Guide to common masonry stains). That is a useful reminder that marker ink and spray paint typically need a cleaner that can break the binder, not just lift surface soil.
For paint, method depends on whether the paint is a thin overspray, a full film, latex, oil-based, or something heavier and more elastic. CMHA notes that poultices can help draw staining matter out of pores rather than merely scrubbing the face, and it lists common poultice materials such as diatomaceous earth, talc, and whiting, while cautioning against incompatible combinations such as cement with acids (CMHA, Removal of Stains From Concrete Masonry).
For copper staining, PROSOCO distinguishes between more superficial staining and deeper embedded staining. Its guide notes that superficial copper stains may respond to lighter-duty masonry cleaners, while embedded cases may require a specialty copper stain remover (PROSOCO, Guide to common masonry stains). That is a good example of why stain depth matters as much as stain type.
For asphalt, tar, silicone bleed, and hard-water deposits, the main lesson is not a single universal product but a different cleaning mindset. These are often restoration problems, not maintenance problems. They may require substrate-specific proprietary products, repeat treatments, or acceptance that the safest result is “substantially improved” rather than “factory new.”
Pre-wetting, testing, and restraint matter here. CMHA warns that abrasive cleaning changes the appearance and durability of masonry and may require re-waterproofing afterward, and it also warns that acids can damage concrete masonry by dissolving part of the cement matrix and increasing porosity (CMHA, Removal of Stains From Concrete Masonry). On decorative brick, soft stone, cast stone, or older mortar, a visibly cleaner but etched patch is not a win.
General Cleaning Methods and Safety Precautions
Most masonry stain removal falls into three broad toolkits: water-based cleaning, abrasive cleaning, and chemical cleaning.
Water-based cleaning is the starting point for ordinary dirt and some light staining. CMHA includes detergent scrubbing, pressure washing, and steam among standard water-cleaning methods and advises against steel brushes, which can damage the face or leave metal traces that create new staining later (CMHA, Removal of Stains From Concrete Masonry). Prewetting can also matter, since an evenly damp surface may reduce rapid absorption of the cleaner and help produce a more even result.
Abrasive cleaning exists for stubborn buildup, but it is a surface-changing method, not a harmless stronger version of washing. CMHA notes that grinding and grit blasting can be used, with softer abrasives preferred on more delicate surfaces, but it also warns that abrasive cleaning changes appearance and durability and may require re-waterproofing afterward (CMHA, Removal of Stains From Concrete Masonry). That is why abrasion is usually a specialist’s tool, not a first-line DIY method.
Chemical cleaning is often the most effective route for absorbed stains because the chemistry can dissolve, suspend, or draw staining material out of pores. CMHA specifically points to proprietary cleaners and poultices as common approaches and cautions that many cleaning chemicals are corrosive, toxic, or flammable, so labels and safety data should govern how they are mixed, applied, and rinsed (CMHA, Removal of Stains From Concrete Masonry).
Acids deserve their own warning. If hydrochloric acid is used at all on concrete masonry, CMHA says it should be dilute and rinsed off within 10 minutes, and it stresses that acids can dissolve the cement matrix, increase porosity, and affect color (CMHA, Removal of Stains From Concrete Masonry). That is why acid is a targeted option, not the default answer to every white, brown, or dark mark on a wall.
A few practical rules matter on almost every job:
- Wear gloves and eye protection when using degreasers, oxidizers, acids, solvents, or strong proprietary cleaners (CMHA, Removal of Stains From Concrete Masonry).
- Protect glass, painted trim, metals, and nearby flooring from runoff and overspray (CMHA, Removal of Stains From Concrete Masonry).
- Follow the product label and safety data rather than mixing your own “stronger” version (CMHA, Removal of Stains From Concrete Masonry).
- Do not judge the final result until the wall or slab is fully dry, because residual shadows and returning deep stains often show up later (PROSOCO, Guide to common masonry stains).
One more caution is worth stating plainly: never confuse a stronger method with a better method. On masonry, stronger often means riskier, not more effective.
When Methods Fail and Pro Help Is Needed
Sometimes a reasonable DIY sequence still does not get the result you want. That usually happens for one of four reasons.
First, the stain may be deeper than it looks. PROSOCO notes that deeply embedded stains can be difficult to remove and may reappear as the substrate dries (PROSOCO, Guide to common masonry stains). That is common with oil, paint ghosting, copper staining, and some restoration cases.
Second, the source may still be active. Efflorescence returns if water is still moving through the wall. Rust returns if the metal source remains and keeps getting wet. Organic growth returns if the area stays damp and shaded. Cleaning the symptom without changing the cause often turns into an endless loop.
Third, the stain may have been misidentified. White scum is not the same as powdery efflorescence. Vanadium is not algae. Manganese is not ordinary joint dirt. Once the early attempts stop working, it is often smarter to revisit the diagnosis than to escalate chemistry blindly.
Fourth, the surface may be too sensitive for aggressive cleaning. CMHA warns that acids can change color and increase porosity, while abrasive methods can alter appearance and durability (CMHA, Removal of Stains From Concrete Masonry). Historic masonry, decorative finishes, soft stone, older mortar, and colored faces deserve extra caution.
Consider professional help when:
- the stain keeps returning after apparently successful cleaning
- the surface is historic, decorative, sealed, or expensive to replace
- you suspect vanadium, manganese, copper staining, silicone bleed, or another specialized stain but are not sure
- a previous cleaning attempt already left a lighter patch or roughened area
- the next product on your list is strong enough that you are uneasy handling it
This is also the point where stain identification help becomes valuable in its own right. PROSOCO’s masonry-stain guide explicitly says its customer-care team can help with identification and recommendations, and CMHA recommends experimenting only on inconspicuous areas when the stain cannot be identified rather than treating the whole wall blindly (PROSOCO, Guide to common masonry stains; CMHA, Removal of Stains From Concrete Masonry). The best professional value is often not “stronger chemicals.” It is accurate diagnosis, controlled testing, and knowing when partial improvement is the safer outcome.
Can hot water or bleach fix mason stains?
Sometimes, but neither is a universal solution.
Hot water may help with some greasy residue, yet it does little for efflorescence, mortar haze, rust, vanadium, manganese, or hard-water deposits. Bleach may help with some organic growth, but it does not remove salt deposits, metal staining, or construction residue. For masonry, the better question is usually not “hot water or bleach?” but “what kind of stain is this?” (CMHA, Removal of Stains From Concrete Masonry; general exterior-cleaning practice summarized in Quora’s house-washing discussion).
What’s the first step for any fresh spill on concrete?
Remove the excess before you start washing.
Blot liquids, scrape solids, and if the spill is oily or greasy, use an absorbent such as cat litter or sawdust before any wet treatment. On porous concrete and pavers, that absorb-first step helps pull contamination up instead of spreading it deeper into the surface (Stain List, “Grease and Oil Stains”).
Are acids safe for all brick types?
No.
CMHA warns that acids can dissolve part of the cement matrix in concrete masonry, increase porosity, and affect color, and it advises using proprietary cleaners and careful testing instead of treating acid as a default fix. Even where an acid-based cleaner is appropriate, the substrate, dilution, and contact time still matter (CMHA, Removal of Stains From Concrete Masonry; PROSOCO, Guide to common masonry stains).
How do I test a cleaner on colored brick?
Pick a hidden or low-visibility spot and clean a small area exactly the way you plan to clean the stain.
Use the same dilution, dwell time, brushing, and rinse method you would use on the visible area, then let the test patch dry completely before judging it. Both CMHA and PROSOCO emphasize testing on inconspicuous areas because colored brick and other finished masonry can clean unevenly or lighten unexpectedly (CMHA, Removal of Stains From Concrete Masonry; PROSOCO, Guide to common masonry stains).
What if the stain returns after cleaning?
Assume either a deeper deposit or an active source.
Returning white deposits usually mean moisture is still carrying salts to the surface. Returning rust often points to continuing corrosion or runoff from metal. Returning green or black growth usually means the area still stays damp enough for regrowth. PROSOCO also notes that some embedded stains reappear as masonry dries, so a stain that “came back” may have been reduced at the surface without being fully removed from the pores (PROSOCO, Guide to common masonry stains).
Mason stains on brick, concrete, and related surfaces vary by cause, but the core workflow stays the same: identify first, remove or absorb excess, test in a hidden spot, use the least aggressive cleaner that fits the stain, rinse well, and let the surface dry before you decide whether to escalate. Mild methods solve many fresh or shallow problems. Set, recurring, or substrate-sensitive stains often need specialty products, repeated testing, or professional help. On porous masonry, full removal is not always possible, and trying to force it can leave a patch that is cleaner but permanently different.