 StainList
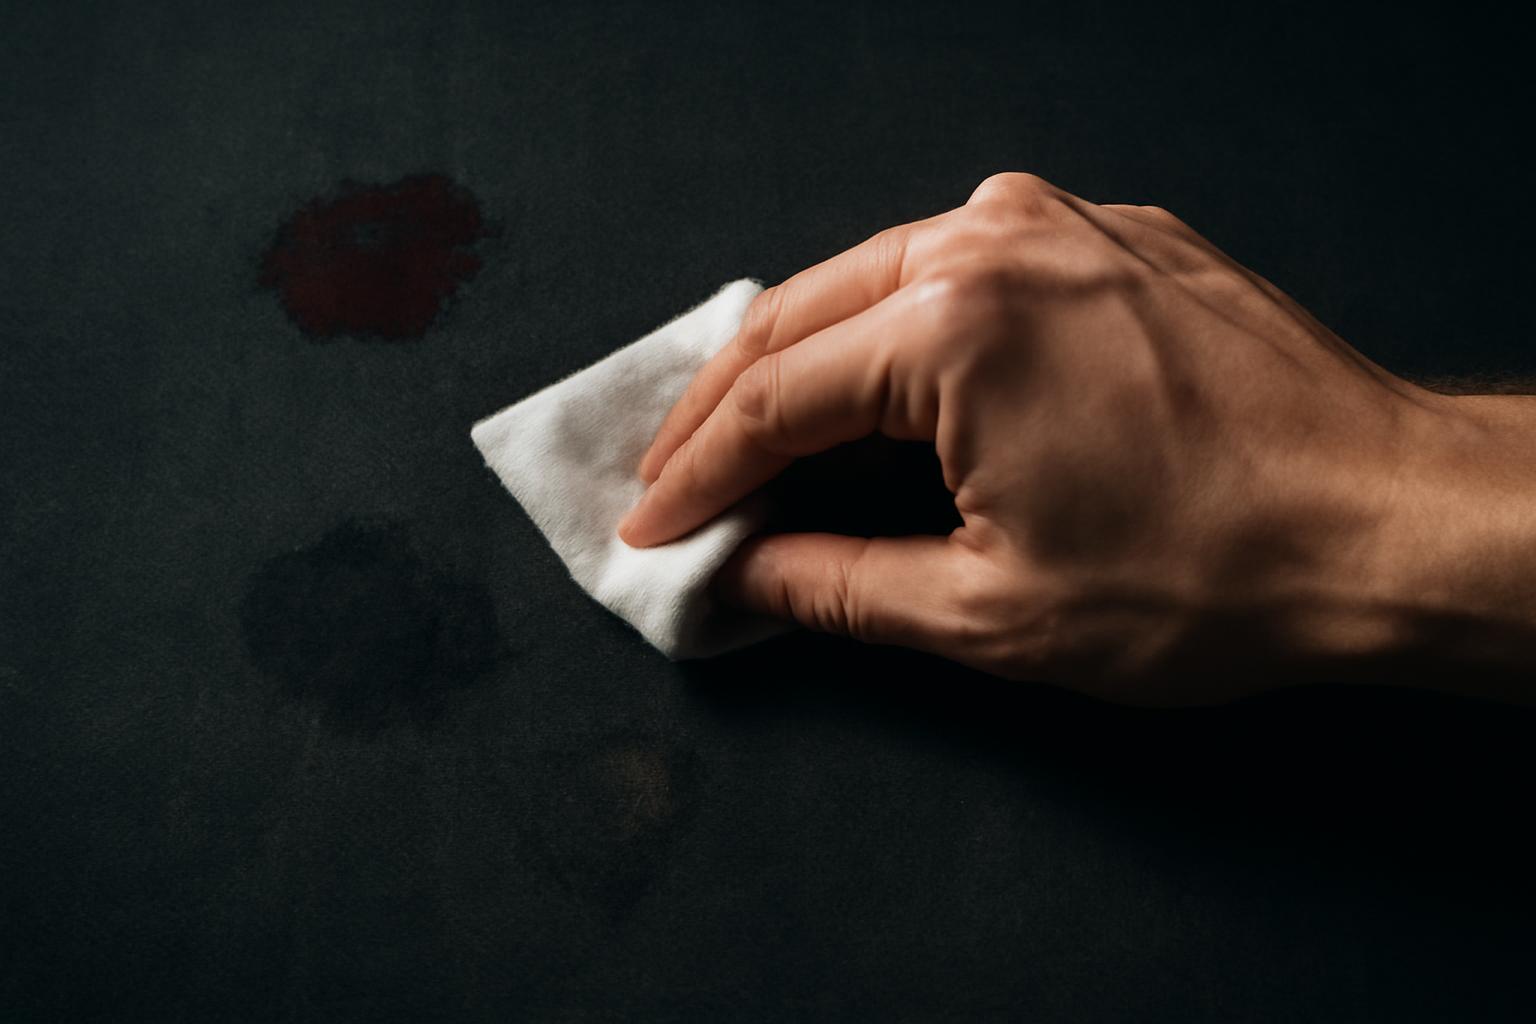
This guide synthesizes practical textile-care guidance from consumer publications, cleaners, and furniture retailers. Because several sources sell cleaning services or products, the item’s complete care label and manufacturer instructions should take priority.
The short answer: spot cleaning treats one area
Spot cleaning means treating only a small stained or soiled area rather than washing or cleaning the entire item. The “spot” is the affected area; “clean” describes the limited scope of treatment. The phrase does not identify a particular detergent, solvent, tool, or water temperature.
If sauce lands on one cuff, for example, you treat the cuff without immersing the shirt. If a drink spills on one corner of a cushion, you work on that corner instead of washing the entire cover. The same idea applies to garments, upholstery, carpets, pillows, rugs, bags, shoes, accessories, and other textiles.
Localized treatment can be useful when a full wash is unnecessary, impractical, or prohibited. However, permission to spot-clean does not automatically make water, dish soap, stain remover, alcohol, or dry-cleaning solvent safe. The appropriate method still depends on the material, dye, construction, care instructions, and stain.
Think of “spot clean” as an instruction about where to clean, not a complete recipe for how to clean. Careful treatment may reduce or remove a stain, but it may not restore the item perfectly. Old stains, unstable dyes, delicate finishes, and residue from earlier treatments can all affect the result.
“Spot clean” and “spot clean only” are not the same instruction
Ordinary spot cleaning is a technique. You might use it to pretreat a stain on an otherwise washable shirt and then launder the shirt according to its care label.
By contrast, “spot clean only” generally restricts cleaning of the whole item. Unless the manufacturer provides different instructions for that particular product, it ordinarily means that you should not machine-wash, hand-wash, soak, wet-clean, or subject the entire item to dry cleaning. Commercial cleaners describe it as local treatment rather than a whole-garment process, while acknowledging that the exact risks vary by item (Utopia Cleaners’ explanation of “spot clean only”).
| Wording | What it generally means | What it does not establish |
|---|---|---|
| Spot clean | Treat a limited stained or soiled area | It does not identify a universally safe cleaner or necessarily answer whether later whole-item cleaning is permitted |
| Spot clean only | Limit treatment to the affected area and avoid whole-item cleaning unless item-specific guidance permits it | It is not merely an instruction to pretreat before laundering |
| Dry clean only | Do not use ordinary machine washing; follow the dry-cleaning direction on the complete label | It does not mean the item should receive only localized treatment |
Care-label wording is not perfectly interchangeable across every product or manufacturer. Read the complete label, including symbols and warnings, and consult the manufacturer’s product-care guidance when available. A label containing only the words “spot clean,” without “only,” may not answer whether a later whole-item process is allowed.
A spot-clean-only restriction may reflect fragile fibers, unstable dyes, lace, beads, sequins, embroidery, glued details, mixed materials, vintage construction, padding, lining, or structural components that cannot be removed.
The restriction can also indicate that no completely risk-free cleaning method exists. Even localized treatment may leave a ring, alter color, flatten a pile, or create a clean patch that contrasts with the surrounding fabric. Some professional cleaners therefore decline spot-clean-only items or accept them only after discussing possible outcomes (Classic Cleaners’ discussion of spot-treatment risks).
Make five checks before applying any cleaner
Before reaching for water or a cleaning product, assess five factors. The purpose is not to identify a universal formula but to decide whether home treatment is reasonable at all.
1. Read the complete care label. Look for the full wording, symbols, fiber information, upholstery code, and warnings about bleach, heat, machine drying, or professional care. A direction to spot-clean does not cancel another restriction elsewhere on the label.
If the label is missing or unreadable, search for the manufacturer’s instructions using the brand, product name, model, or identifying number. When the material or permitted cleaner remains uncertain, ask the manufacturer or a cleaner familiar with that type of item rather than guessing.
2. Identify the material and construction. Look beyond the main surface fabric. Check for:
- Silk, wool, velvet, fur, lace, leather, or suede
- A raised pile, brushed surface, coating, print, or specialty finish
- Beads, sequins, rhinestones, embroidery, or metallic threads
- Glued patches, bonded layers, or printed decorations
- Contrasting colors or several materials joined together
- Lining, interfacing, padding, foam, backing, or structured panels
- Vintage stitching, weakened fibers, or previous repairs
A removable cover is not automatically washable simply because it has a zipper.
3. Identify the stain, if possible. Cleaner selection has two sides: the treatment must loosen or dissolve the stain, and the underlying material must tolerate that treatment. Grease, ink, mud, blood, wine, paint, cosmetics, and adhesive do not behave alike.
Before adding liquid, carefully lift removable solids with the edge of a spoon or another blunt tool. Blot free liquid with a clean, dry cloth. Do not grind residue into the fibers.
4. Consider the stain’s size and age. A small, fresh spill is generally a better candidate for localized treatment than a broad, dried, or previously treated mark. A stain that has soaked through upholstery into padding is no longer merely a surface spot. Heat exposure can also make some stains harder to treat.
5. Consider the item’s value and replaceability. A home attempt that is acceptable on an inexpensive everyday item may be an unreasonable risk on a wedding garment, antique textile, inherited cushion, designer bag, or discontinued upholstery. Sentimental or replacement value should lower the amount of risk you take.
Once a possible treatment has passed those checks, test it in a hidden area. Apply a very small amount using the same method you intend to use on the stain. If you plan to blot, blot the test area; if reliable instructions require a short dwell time, reproduce it conservatively.
Allow the test area to dry enough to reveal delayed changes. Inspect it for:
- Dye on the testing cloth
- Fading, bleeding, or color migration
- A darker edge, ring, or watermark
- Stiffness, tackiness, or residue
- Pilling, fuzzing, or flattened pile
- Distortion, shrinkage, or puckering
- Damage to a coating, print, sheen, or finish
- Loosened adhesive, trim, or stitching
Consumer Reports similarly recommends white cloths, hidden-area testing, blotting rather than rubbing, and stopping if testing causes fading or damage (Consumer Reports’ stain-removal guidance).
A conservative step-by-step spot-cleaning method
The following is a general workflow, not a universal stain-removal formula. The care label and material-specific instructions always take priority. If you have not established that localized treatment is permitted—or do not know what the material can tolerate—pause before applying liquid.
1. Remove what has not soaked in. Gently lift solids or thick residue with a spoon, dull scraper, or similar blunt edge. For a fresh liquid spill, press a clean, dry white cloth onto the area. Lift and reposition the cloth instead of wiping across the surface.
2. Protect the layer underneath. When the construction allows it, place an absorbent white cloth behind the stained area. Do not force a cloth behind glued, padded, or structured sections.
3. Patch-test the intended treatment. Test both the cleaner and the application method in a concealed place. Let the test area dry sufficiently before deciding it is acceptable.
4. Put a small amount of cleaner on the cloth. Unless reliable instructions for the exact material say otherwise, avoid pouring or spraying cleaner freely onto the item. Applying it to the cloth gives you more control over how much reaches the textile.
The cloth should be damp enough to transfer the treatment, not dripping. A clean white cloth is useful because it is less likely to introduce dye and makes it easier to see whether the stain—or the item’s own color—is transferring.
5. Blot or dab with gentle pressure. Press, lift, and move to a clean section of cloth. Do not scrub, rub in circles, or drag the cloth across the surface. Abrasive action can spread a stain, damage fibers, or leave visible marks; Consumer Reports recommends blotting and avoiding abrasive tools for these reasons (Consumer Reports’ stain-removal guidance).
6. Work from the outer edge toward the center. For many fabric, carpet, and upholstery stains, this can help limit lateral spreading. Do not begin by flooding the middle and pushing liquid outward. Follow manufacturer instructions instead if they specify a different technique.
7. Keep changing the cloth’s contact area. As the stain transfers, expose a clean section of cloth. Replace the cloth entirely when necessary.
8. Remove cleaner residue only when local rinsing is permitted. If the care instructions and product directions allow it, use a separate cloth lightly dampened with the specified rinsing liquid. Blot sparingly. Do not assume that every cleaner can be rinsed with water or that every textile can be wetted.
Residue may dry into a mark, stiffen the surface, or attract dirt.
9. Blot excess moisture and air-dry. Press with a dry white cloth, then allow the area to dry naturally unless the manufacturer gives different drying instructions. Avoid concentrated heat while the stain remains because heat may set some stains or change a material’s color or texture.
Evaluate the result only after the area has dried.
Repeat treatment only while material continues to transfer and the textile remains unchanged. If progress stops, do not automatically add more liquid, use a stronger chemical, or scrub harder. Escalation can enlarge the damaged area without correcting a mismatch between the stain, cleaner, and material.
There is no universal spot-cleaning solution
No single detergent, solvent, home remedy, or water temperature is safe and effective for every stain and surface. Advice such as “use dish soap,” “try alcohol,” or “rinse with cold water” may be appropriate in a particular situation, but none is a universal rule.
Treatment selection requires two decisions:
- Identify the stain category so you can determine what may dissolve, loosen, emulsify, or lift it.
- Exclude treatments the item cannot tolerate, including incompatible liquids, solvents, temperatures, dwell times, agitation, and pH levels.
Ink illustrates the problem. Oil-based ballpoint ink does not behave like water-based gel or fountain-pen ink, while permanent marker contains a different binder and solvent system. Stain List’s ink guide separates treatment by ink type and warns that solvents may affect dyes or damage particular fibers. A method that lifts one ink may spread another or leave pigment behind.
The same distinction applies elsewhere. Greasy food residue requires different selection logic from red wine, mud, water-based paint, or a protein-based stain. Treatment also changes with the surface: a method suitable for washable white cotton may be inappropriate for wool, colored velvet, leather, backed upholstery, or carpet over absorbent padding.
Solvents require particular caution. Alcohol and acetone are used for certain inks or adhesives, but they can affect dyes and some synthetic fibers. They should not be presented as default spot cleaners. A product is not chemically mild merely because it is familiar or commonly available.
Water is also an active treatment, not a neutral fallback. It can contribute to bleeding, distortion, rings, stiffness, or pile changes on moisture-sensitive materials. Some velvet and delicate upholstery can be marked by water, so the care code and manufacturer instructions should control product selection.
After confirming that local treatment is permitted, consult guidance for the specific stain and surface. For example, Stain List’s red-wine guidance varies by material and cautions against heat and untested peroxide on dark or saturated colors. This kind of stain-and-surface matching is safer than adopting one household recipe for everything.
What spot cleaning means on upholstery
On upholstery, spot cleaning still means treating only the stained area. The additional complication is that the visible fabric may sit over backing, stitching, batting, cushion filling, or foam. The upholstery cleaning code indicates the broad category of care permitted.
| Upholstery code | General meaning |
|---|---|
| W | Use an appropriate water-based upholstery product |
| S | Use a compatible water-free solvent |
| WS or SW | Either of those listed cleaner categories may be permitted |
| X | Vacuum-only care; obtain manufacturer or professional guidance for stains |
“WS” and “SW” are alternate orderings for the same two cleaner categories. These are upholstery codes, not garment-care symbols, and should not be projected onto clothing labels. Upholstery guidance identifies W, S, WS, and X as materially different instructions, with X generally reserved for vacuum-only care (Apartment Therapy’s upholstery-code guide).
Then check whether the manufacturer specifies a product or procedure for that exact upholstery.
A W code permits an appropriate water-based upholstery product; it does not authorize unlimited water, any soap, or every homemade mixture. An S code similarly does not mean that every household solvent is compatible.
When appropriate, vacuum loose dirt and crumbs before applying a permitted liquid or solvent treatment. Otherwise, cleaning action can work loose debris into the fabric. Use a suitable upholstery attachment and take care around loose threads or embellishments.
For a permitted treatment, apply as little cleaner as reasonably necessary, blot from the edge toward the center, and move continuously to clean portions of the cloth. Avoid heavily wetting one concentrated patch. Excess liquid can affect fabric backing, stitching, cushion filling, or underlying foam.
Room & Board advises applying upholstery cleaner sparingly and warns that oversaturation may damage fabric backing or cushions. It also cautions that dry cleaning or machine washing removable cushion casings can harm the fabric, backing, or stitching (Room & Board’s upholstery-care instructions). A zipper should therefore not be interpreted as permission to wash or dry-clean the cover.
For X-code upholstery, do not improvise with water or household solvent. Vacuum as directed and consult the manufacturer or a qualified upholstery cleaner about the stain. Professional guidance is also prudent when the code is missing, the stain is large, the spill has reached the padding, the mark persists, or a hidden-area test causes an adverse change.
What spot cleaning cannot do—and how it can go wrong
Spot cleaning is limited by design. It does not remove widespread dirt, body oils, sweat, odor, or general soil from the rest of an item.
On something that can later be washed according to its label, localized treatment may serve as maintenance or pretreatment between full cleanings. On a spot-clean-only item, however, there may be no safe routine whole-item process.
This limitation becomes obvious when a treated area ends up cleaner than its surroundings. The original stain may be reduced, yet the item can still look uneven because the rest of the material retains ordinary soil or wear.
Possible unwanted outcomes include:
- A residue ring or tide mark
- A water or solvent mark
- Fading, bleeding, or dye loss
- A darker or lighter patch
- Flattened pile or changed texture
- Pilling, fuzzing, or abrasion
- Stiffness from cleaner residue
- Shrinkage, puckering, or distortion
- A stain that spreads beyond its original edge
- A clean patch that contrasts with its surroundings
Spot-clean-only garments may retain cleaner residue or develop a visible ring when the treatment cannot be flushed out through an appropriate whole-item process (Utopia Cleaners’ care guidance).
Too much liquid can move contamination sideways or carry it into deeper layers. On upholstery, that may affect backing and padding that cannot be rinsed or dried easily. It can also make the final result difficult to judge until the entire area has dried.
Rubbing and abrasive tools increase the risk. They may spread the stain, disturb a finish, change a raised pile, or leave a visibly rubbed area even if the discoloration is reduced.
Cleaner residue can become a separate spot. A product that performs well on washable fabric may rely on thorough rinsing or laundering afterward. If a spot-clean-only item cannot tolerate that follow-up, residue may leave a halo, stiffen the area, or attract new soil.
Direct heat is not a dependable shortcut. Heat from a dryer may set some stains, while concentrated heat may affect a textile’s color or texture; general spot-cleaning guidance therefore favors air-drying before evaluation unless the manufacturer expressly directs otherwise (Sud City Laundry’s spot-cleaning guidance).
Old, set-in, and previously heat-exposed stains may be less responsive. That does not mean the correct next step is stronger solvent or more force. As a stain becomes harder to remove, preserving the surrounding material may be more important than pursuing complete removal.
Even a careful procedure cannot guarantee restoration. The realistic objective is to reduce the stain while preserving the item—not to chase an invisible result until the material fails.
Know when to stop and ask for help
Stop treatment immediately if:
- The item’s dye appears on your cloth
- The color fades, changes, or begins to bleed
- The fabric pills, stiffens, stretches, or distorts
- Velvet or another raised pile flattens or changes direction
- The stain spreads or develops a darker edge
- A ring or watermark begins to form
- Adhesive, backing, trim, beads, or sequins loosen
- A coating, print, sheen, or surface finish changes
- The material becomes tacky, brittle, fuzzy, or misshapen
Blot away removable moisture without rubbing, then allow the area to air-dry. Keep the packaging or ingredient information for every product applied. Do not attempt to “correct” the reaction immediately with another chemical unless the product or manufacturer instructions specifically require it.
Professional or manufacturer guidance is the safer choice for large or persistent stains, unknown materials, missing labels, widespread soil, and marks already exposed to dryer or iron heat. It is also prudent for silk, wool, leather, suede, velvet, fur, lace, vintage textiles, structured garments, unstable dyes, mixed materials, and items decorated with beads or sequins.
Give special weight to monetary, sentimental, antique, and replacement value. A small stain does not make experimentation sensible when the item is irreplaceable.
When contacting the manufacturer or a cleaner, provide:
- The exact care-label wording and symbols
- The fiber or material, if known
- The source of the stain
- Approximately how old it is
- Whether it was blotted, washed, dried, or ironed
- Every product already applied
- Any change in color, texture, finish, or shape
- Whether the stain reached lining, backing, or cushion filling
Ask what result is realistic, what visible changes could occur, and whether any whole-item process is permitted for that specific product. Some cleaners decline spot-clean-only items because local treatment can still leave rings, watermarks, or contrast with the surrounding fabric; others may accept them after discussing those risks (Classic Cleaners’ explanation of professional assessment).
Professional treatment reduces the need for uninformed experimentation, but it does not guarantee complete removal or damage-free restoration. The practical rule is simple: when the correct cleaner, material, or construction is uncertain, pause instead of escalating to more liquid, stronger chemicals, or harder scrubbing.
Spot cleaning limits treatment to one affected area, but the label, material, construction, and stain determine what that treatment may safely involve. Start with the least aggressive compatible action, use minimal moisture and agitation, avoid unapproved heat, and assess the item only after it has dried. If the material changes or the correct method remains unclear, stop.
Can I put a “spot clean only” item in the washing machine on a delicate cycle?
Generally, no. A delicate cycle still exposes the entire item to water, detergent, movement, and spinning. Those conditions can affect unstable dyes, trim, adhesive, lining, padding, or structural components even when the visible fabric appears durable.
Treat “spot clean only” as a restriction against whole-item washing unless the manufacturer expressly permits a particular process. Hand washing and soaking are not automatically safer because they still wet the entire piece (Organic Dry Cleaners’ explanation of the label).
Does “spot clean only” mean the whole item can be dry-cleaned?
No. “Spot clean only” and “dry clean only” are different instructions. A spot-clean-only label generally limits cleaning to the affected area and does not, by itself, authorize whole-item dry cleaning.
A professional may be able to assess whether a local solvent treatment—or another item-specific process—is reasonable. That decision depends on the materials and construction, and not every cleaner will accept the item. Professional treatment is not risk-free (Organic Dry Cleaners’ discussion of professional assessment).
Can I use dish soap and water on every spot-clean item?
No. Dish soap and water may be suitable for some stains on some water-tolerant materials, but neither is universally safe. Water can mark certain upholstery, while soap may leave residue when the treated area cannot be rinsed adequately.
First check the care instructions, identify the material and stain, and test the proposed treatment in a hidden area. For upholstery, follow the cleaning code rather than substituting water for a required water-free solvent (Apartment Therapy’s material and upholstery-code guidance).
Why did spot cleaning leave a ring or lighter patch?
A lighter patch may indicate dye or finish change, altered pile, or an area that is now cleaner than the surrounding fabric.
Allow the area to dry before judging it. If the difference remains, do not repeatedly wet or scrub the boundary. Ask the manufacturer or an appropriate cleaner whether the appearance can be improved without enlarging the affected area. Upholstery-care guidance specifically warns against excess liquid and uneven local treatment because they can damage the surface or underlying materials.
What should I do if an item has no care label?
Look for manufacturer guidance using the brand, model, product page, receipt, or identifying number. For furniture, check beneath cushions and under the frame for an upholstery tag.
If you cannot identify the material or permitted cleaner category, remove only loose residue and blot free liquid with a dry white cloth. Avoid adding water, detergent, or solvent until you have reliable guidance. For a valuable, delicate, structured, or mixed-material item, take clear photographs and consult the manufacturer or a cleaner experienced with that product type.